Important: Google Maps API key requirements
Your Google Maps API key must meet these two critical requirements:
-
Under the "APIs & Services" → "Enabled API & Services" section, enable the following APIs:
Maps JavaScript API, Geocoding API, Places API (New), and Places API. - Add your credit card information under the "Billing" section. Google provides a generous free tier that covers most small to medium-sized stores. Learn more about Google Maps pricing.
For Google's official setup instructions, see Get an API key for the Maps JavaScript API.
To set everything up, follow the step-by-step guidance below on this page.
Initial setup and enabling API services
Start by setting up your Google Cloud environment. Open the Google Cloud Console.
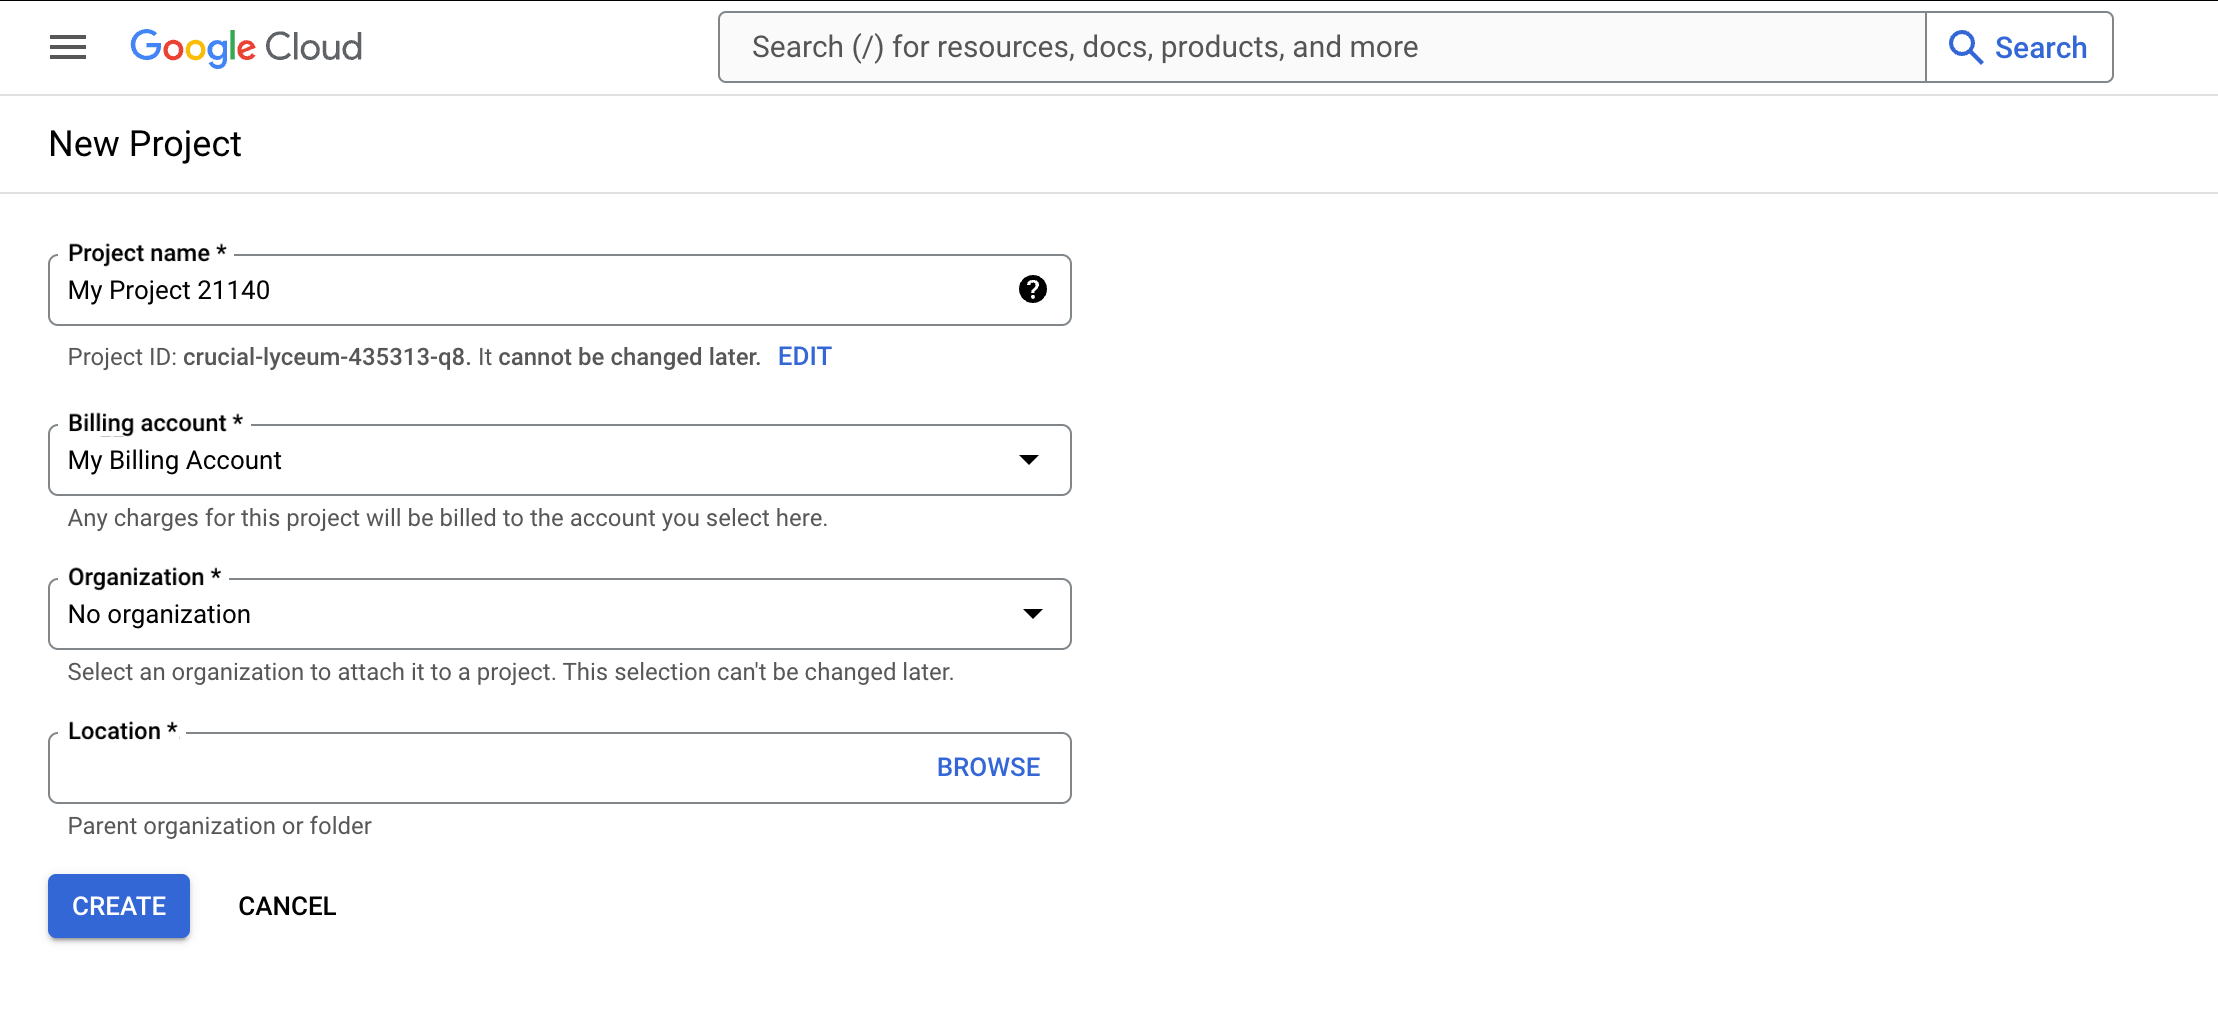
If you're new to Google Cloud: You'll need to create a new project first. Give it a descriptive name, for example "Omnium Maps".
If you already have a project: Select it from the dropdown menu at the top of the console. This menu displays your current project name and allows you to switch between projects.

To enable the APIs that power your maps, from the main menu, navigate to APIs & Services → Enabled APIs & Services.
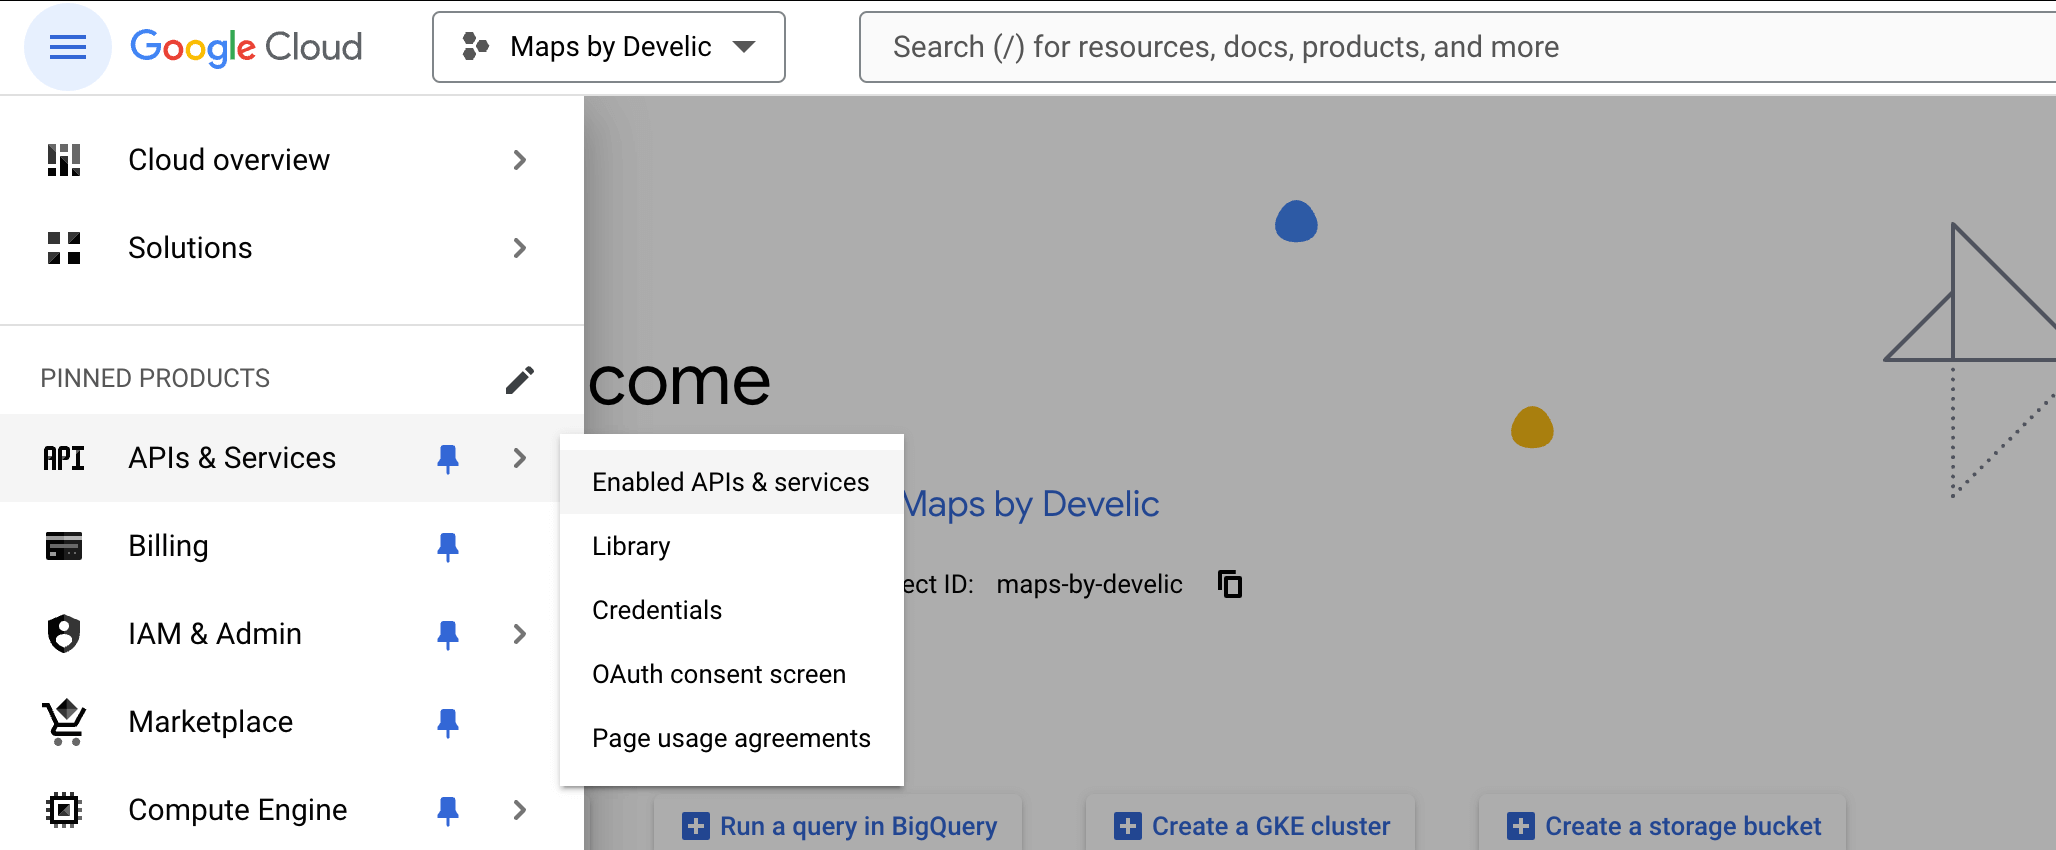
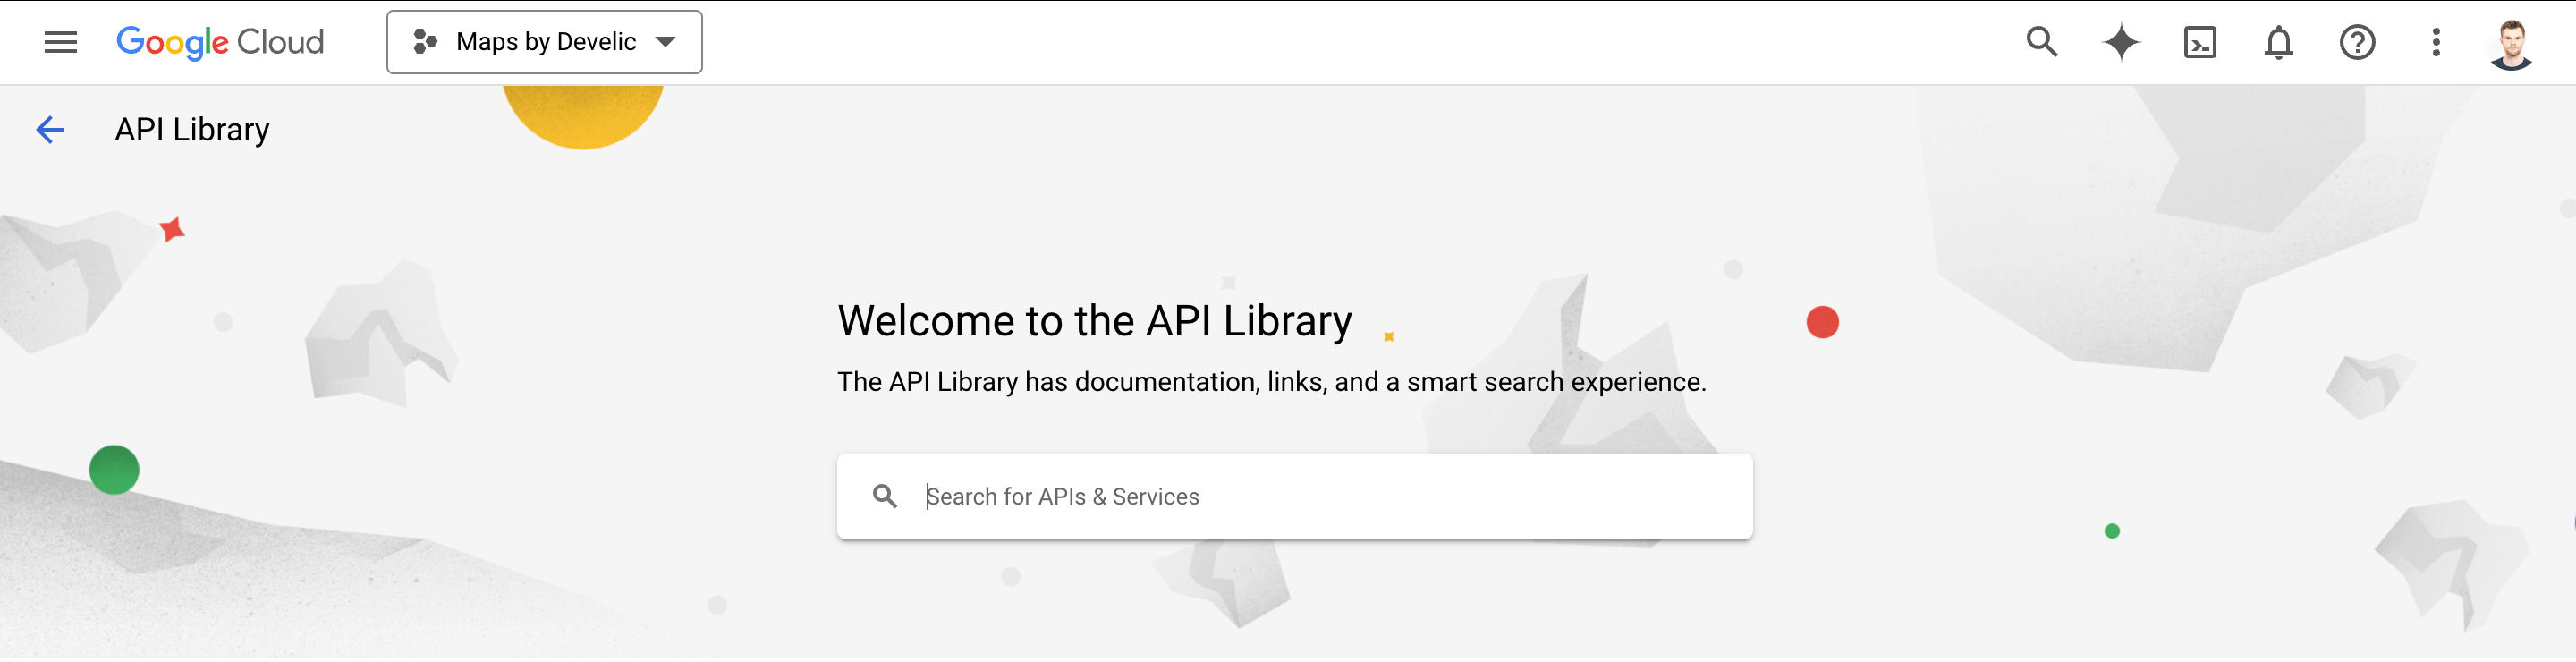
Click the "Enable APIs and Services" button at the top of the page. This will open the API Library where you can search for and enable services.

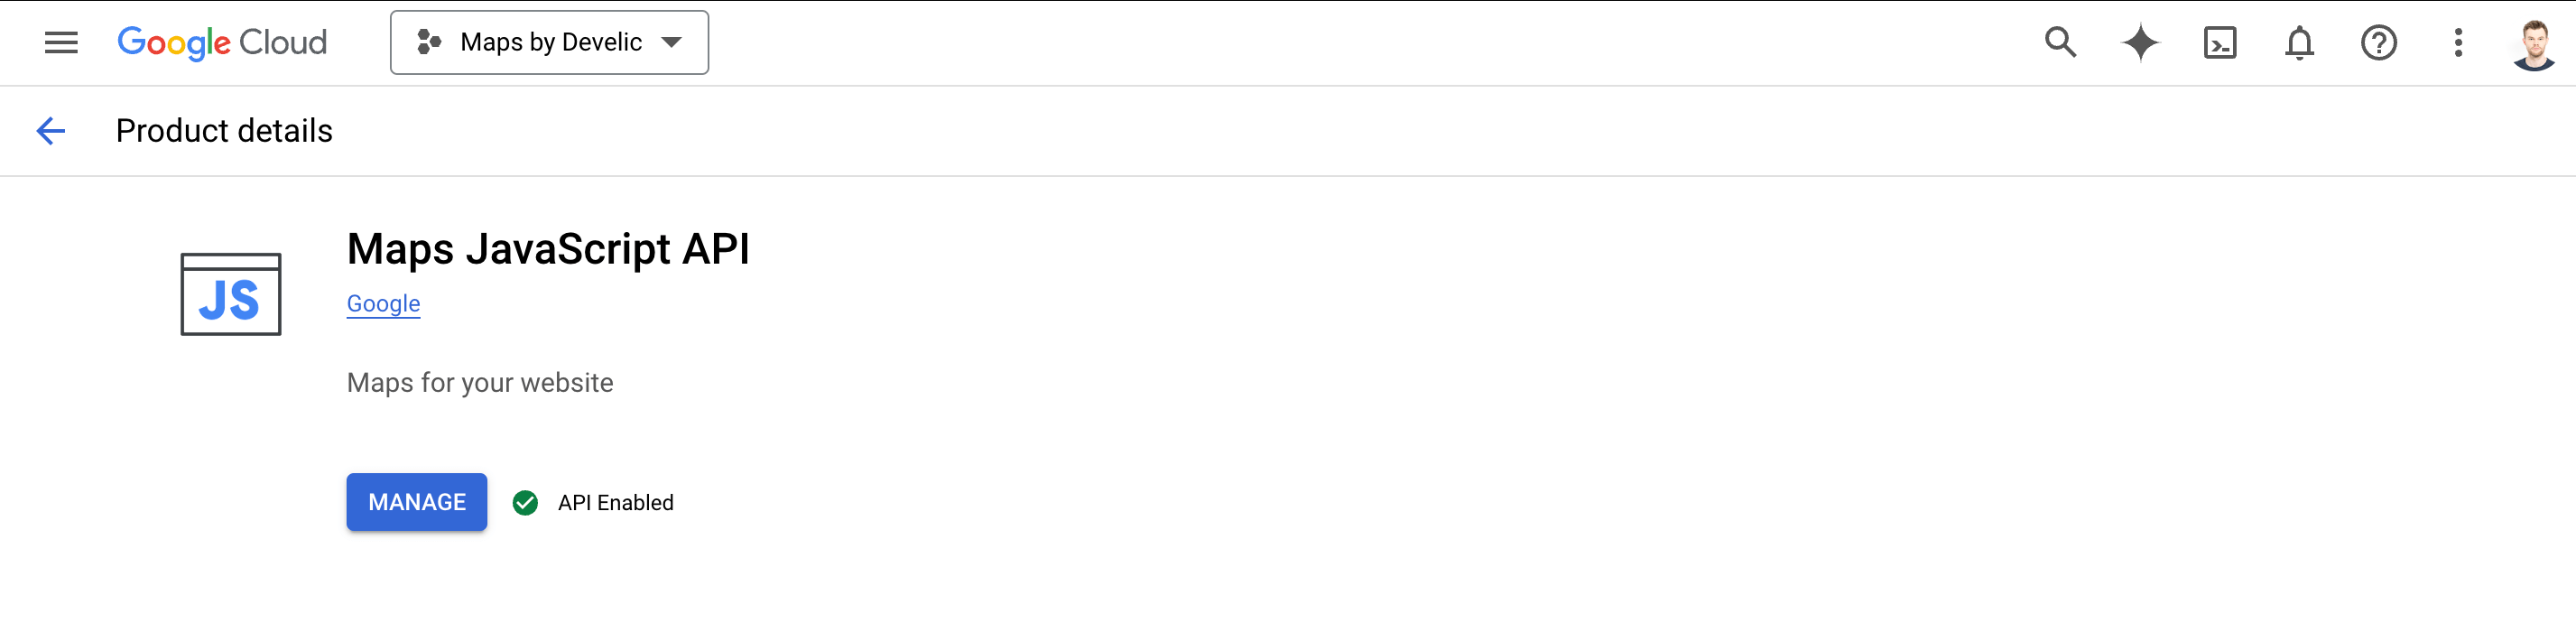
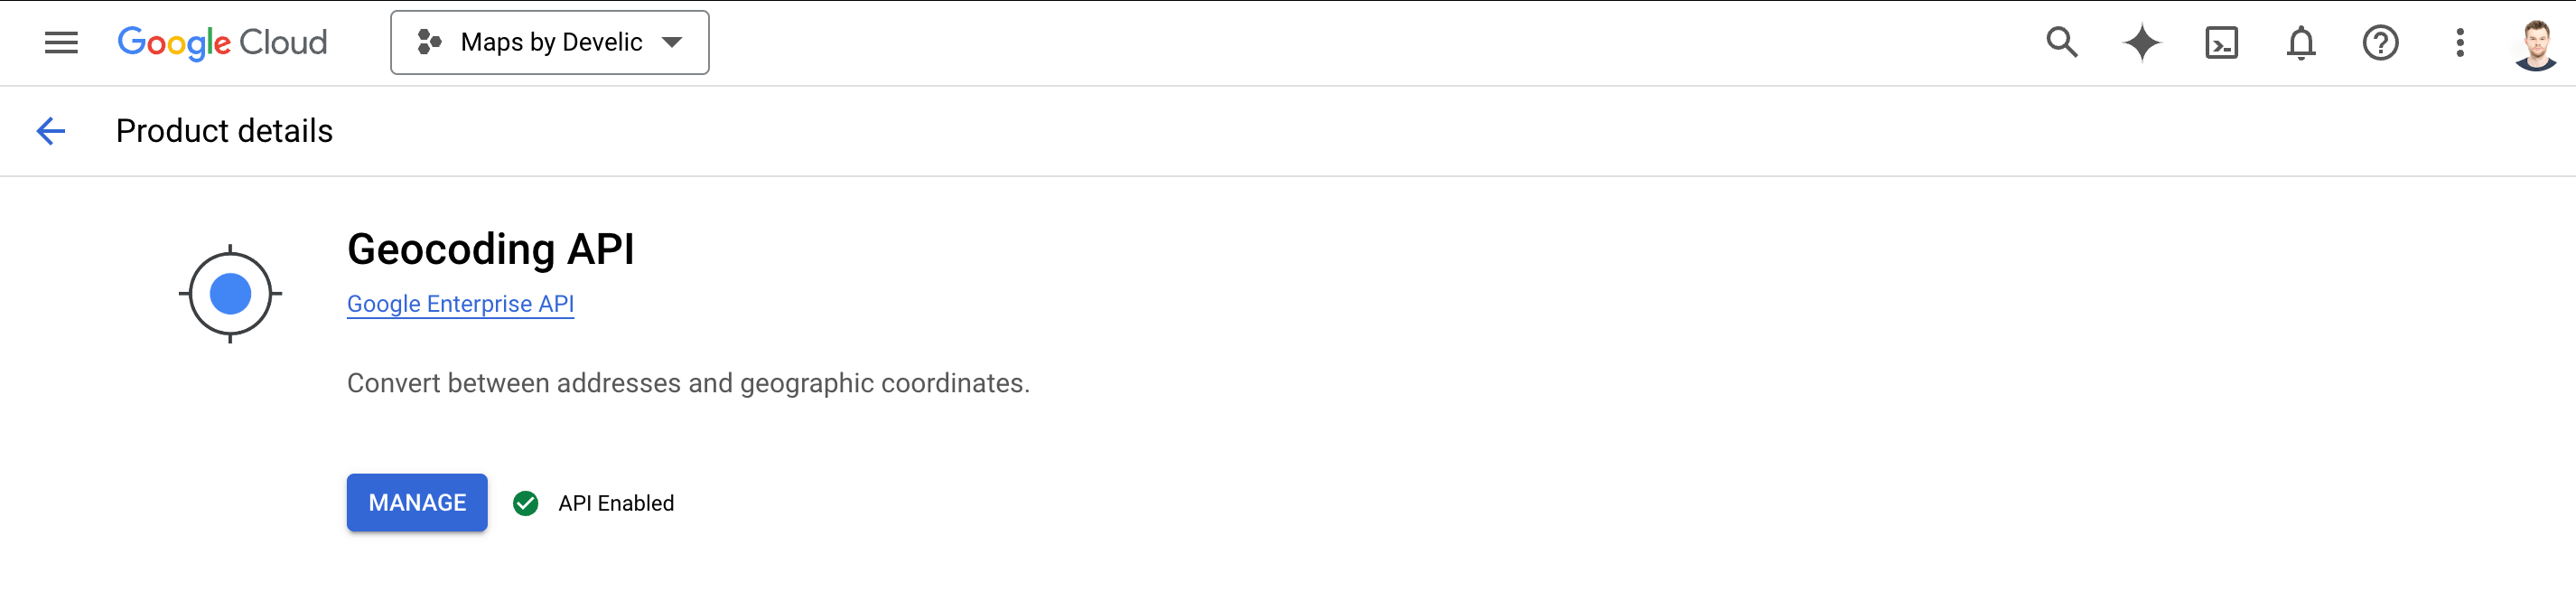
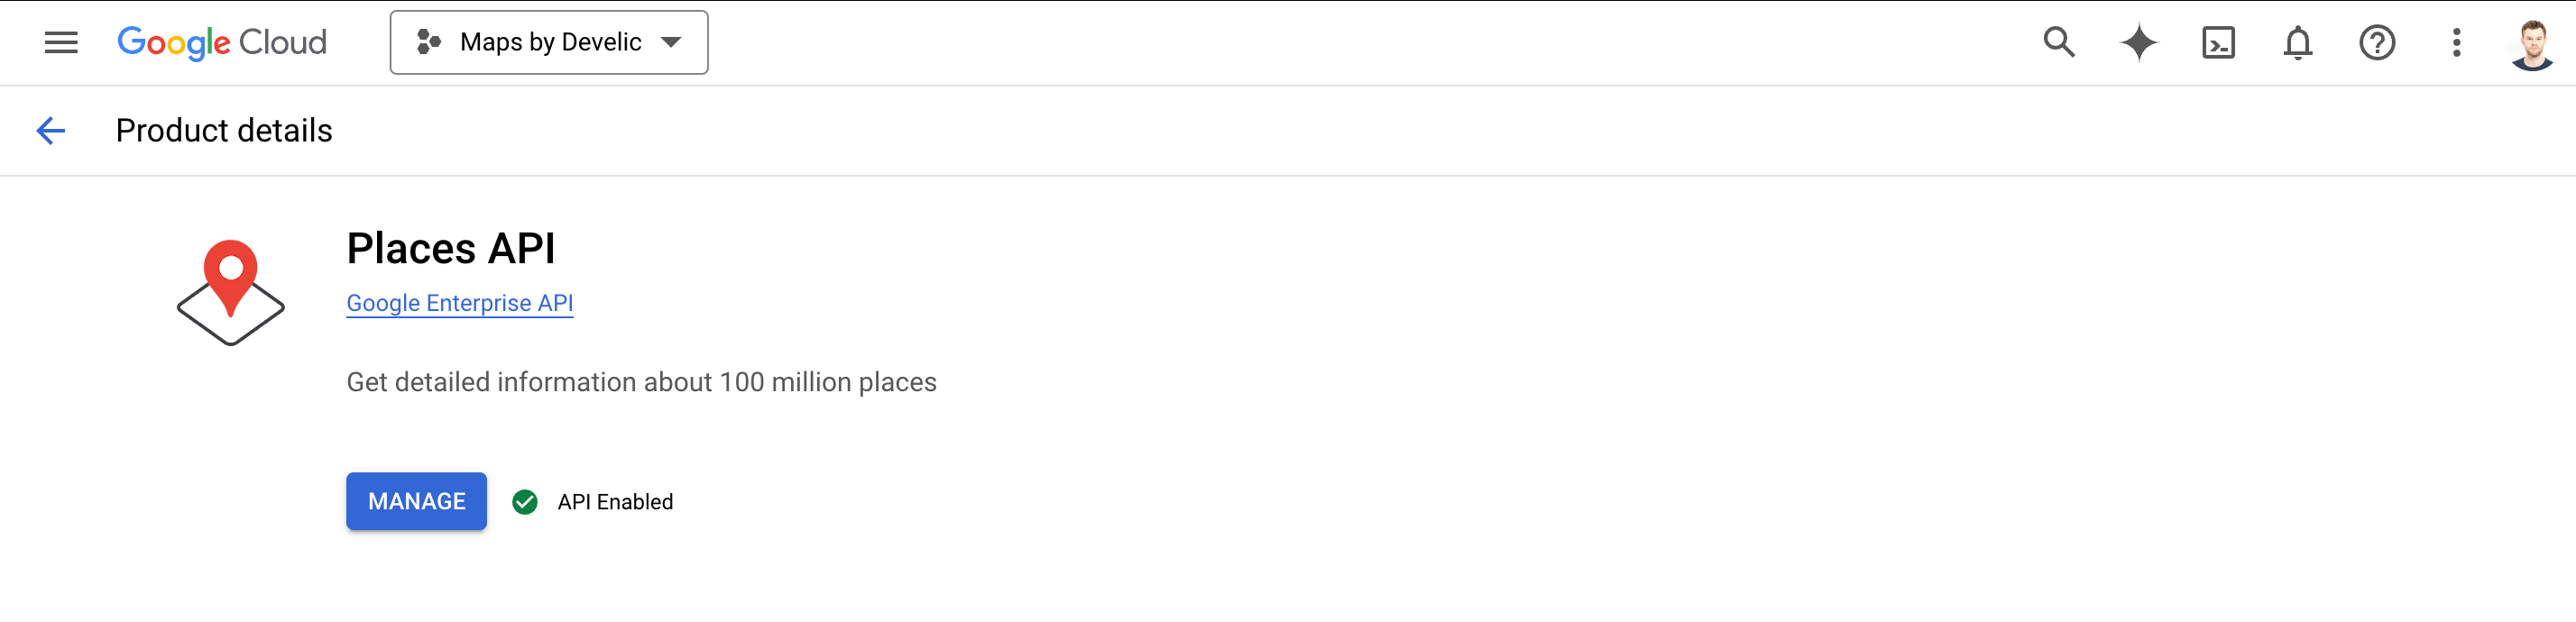
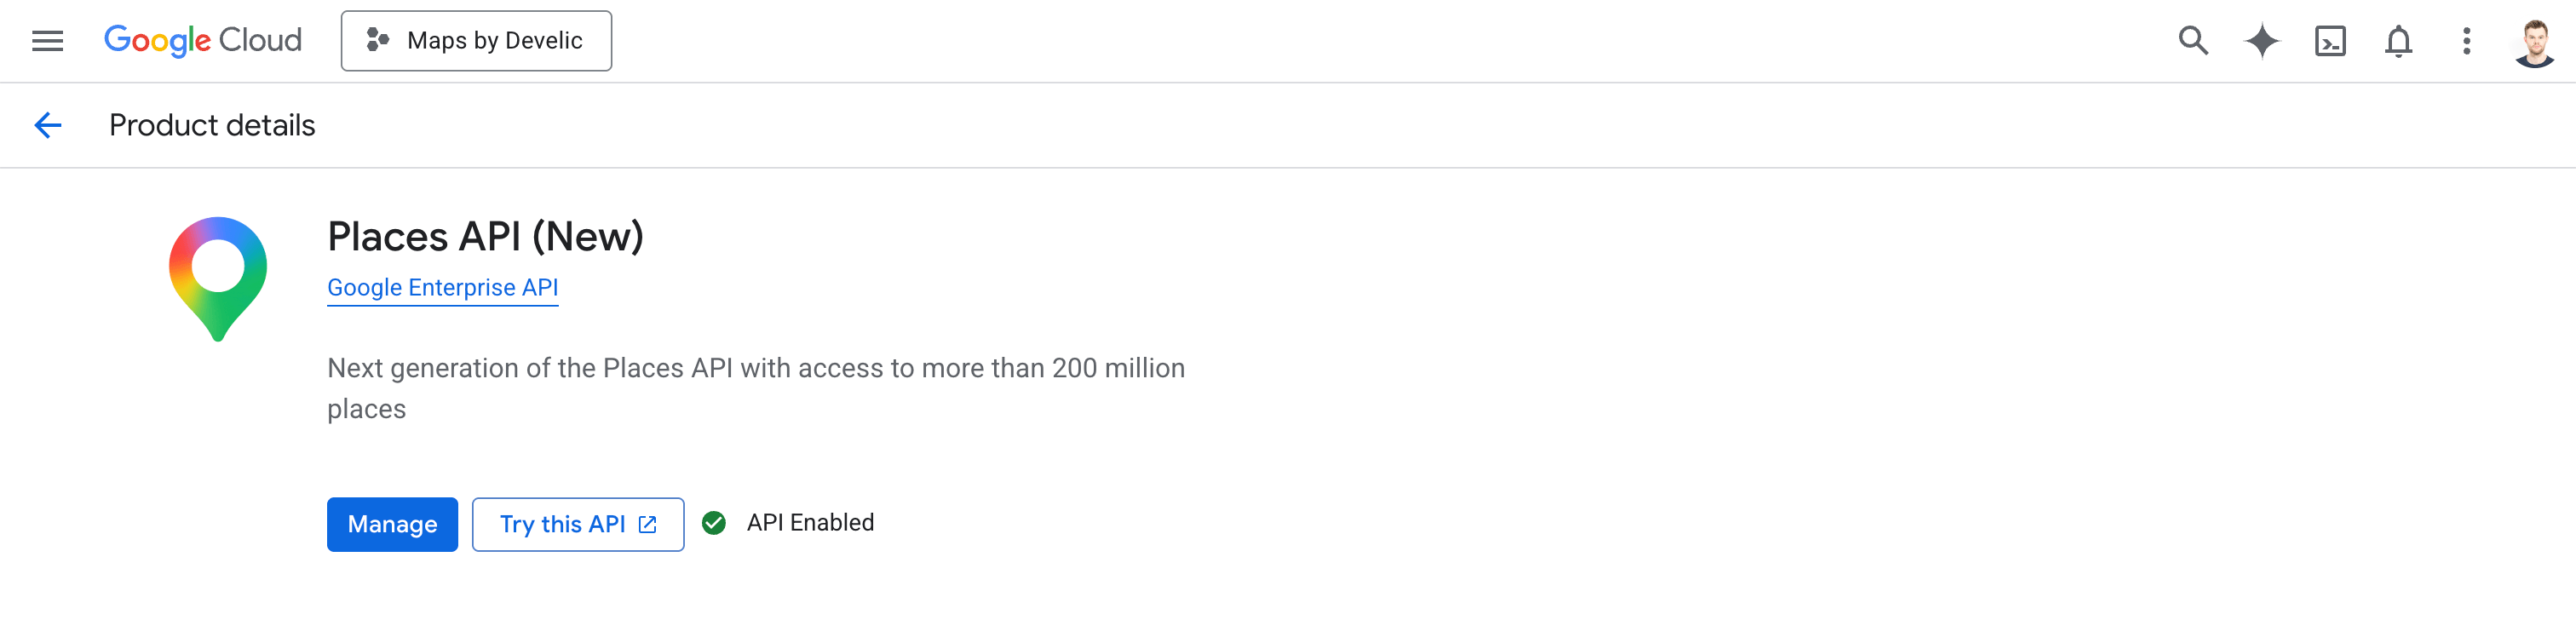
You'll need to enable four specific APIs. Search for each one individually and click the "Enable" button:
- Maps JavaScript API: powers the interactive map display
- Geocoding API: converts addresses into geographic coordinates
- Places API (New) and Places API: provide location information and search functionality
Once all the required APIs are enabled, you're ready to create your API key.
Creating and Securing your API key
From the main menu, navigate to APIs & Services → Credentials.
On the Credentials page, click the "Create Credentials" button near the top. You'll see several options in the dropdown menu - select "API key".
In the create dialog, give the key a clear name, for example "Store Locator Key". Under "Select API restrictions", select the four APIs you enabled earlier: Maps JavaScript API, Geocoding API, Places API, and Places API (New):
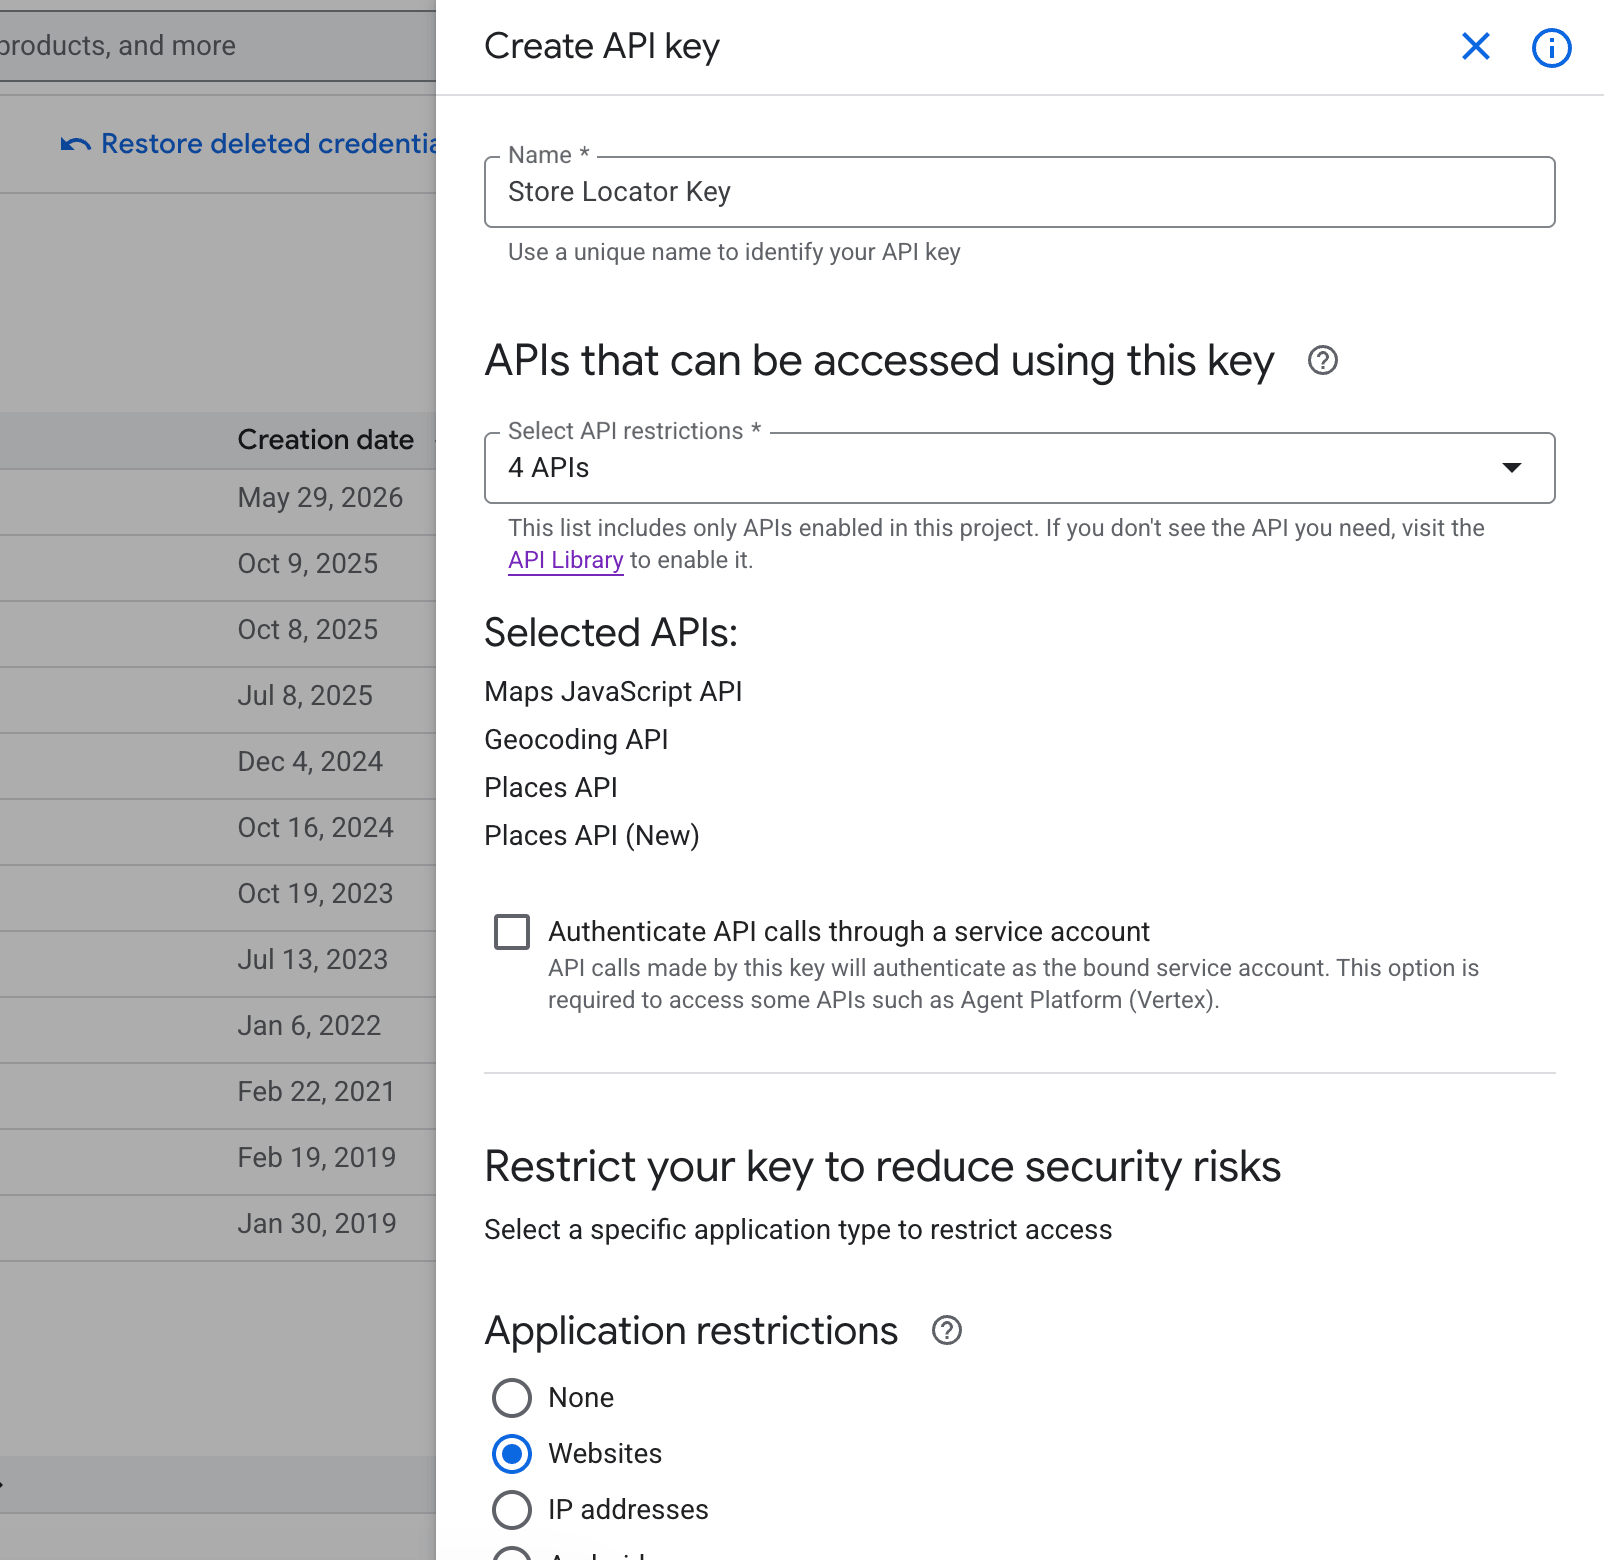
An unrestricted API key can be used by anyone who finds it, potentially racking up charges on your account. Restrict it to your specific domains.
Under "Application restrictions", select the "Websites" option. This ensures your key only works when called from specific web domains.
Under "Website restrictions", add the following URLs (click "+ Add" for each entry):
-
https://your-store-domain.myshopify.com/*Replace your-store-domain with your actual Shopify store name. This URL always ends with
.myshopify.com. -
https://your-live-domain.com/*Replace this with your custom domain if you have one (e.g., mygoodstore.com or shop.mybrand.com).
The /* at the end of each URL means "allow usage on all pages of this domain". Without it, the key will only work on the exact homepage URL.

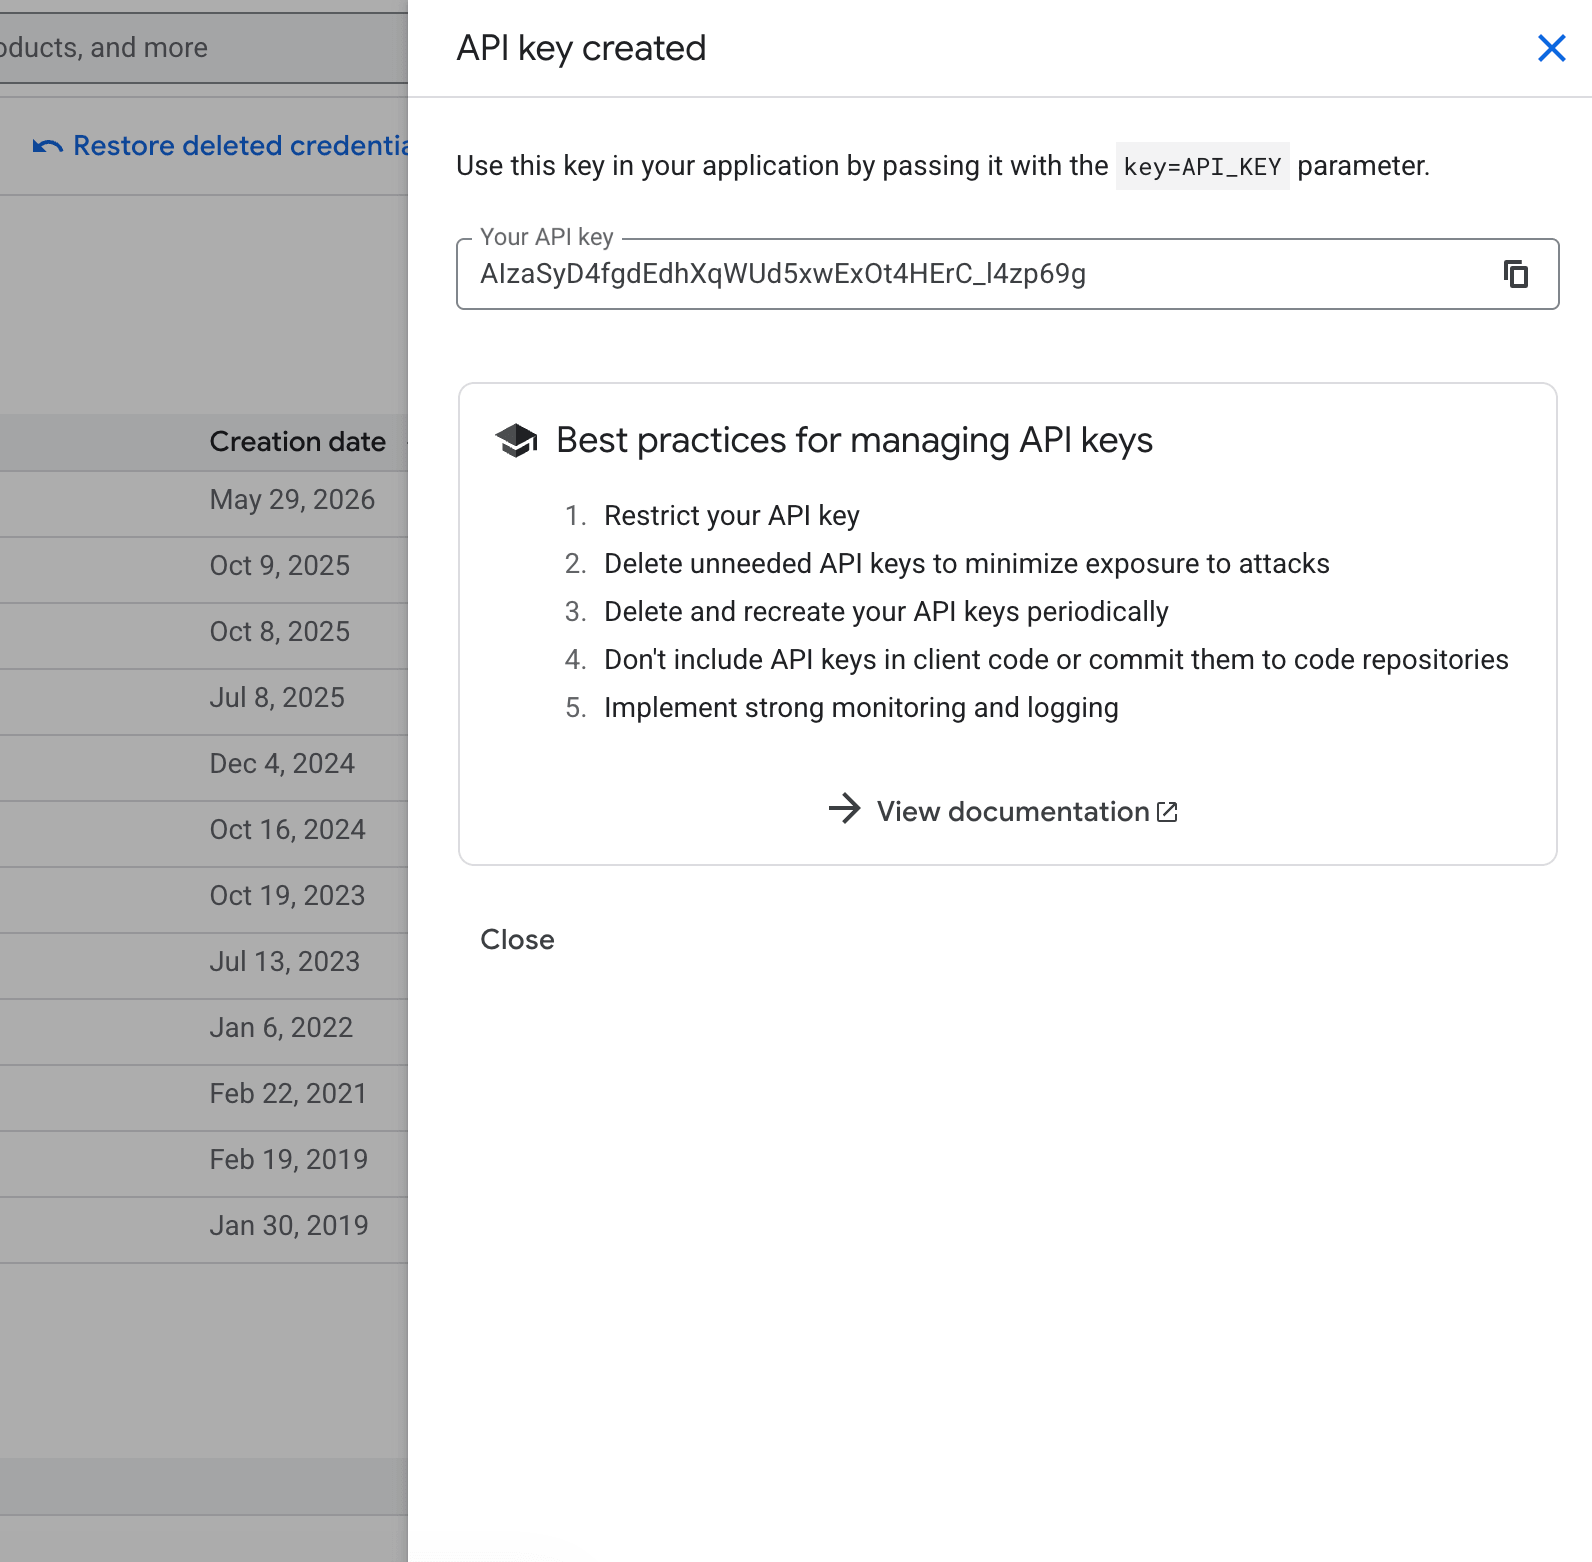
Click "Create". Google will generate your API key instantly. A dialog will appear displaying your new key - this is the string of characters you'll copy into your application.
Note
It may take a few minutes for Google's servers to propagate these changes. The key may take a few minutes to become active.
Activating billing
Google Maps API charges are completely separate from your Omnium Maps subscription. However, Google provides a generous free tier that will be more than enough for the majority of small and medium-sized users.
To activate billing, open the "Billing" section, click on the "Go to linked billing account" button, and add your credit card data.
If you don't have linked Billing Accounts, you will need to create one (and link it to your Google Cloud Project).
The easiest way to activate billing is to open https://console.cloud.google.com/project/_/billing/enable and follow Google's guidance there.
Once billing is set up, your API key is ready to use!
To learn more about pricing, check out these resources:
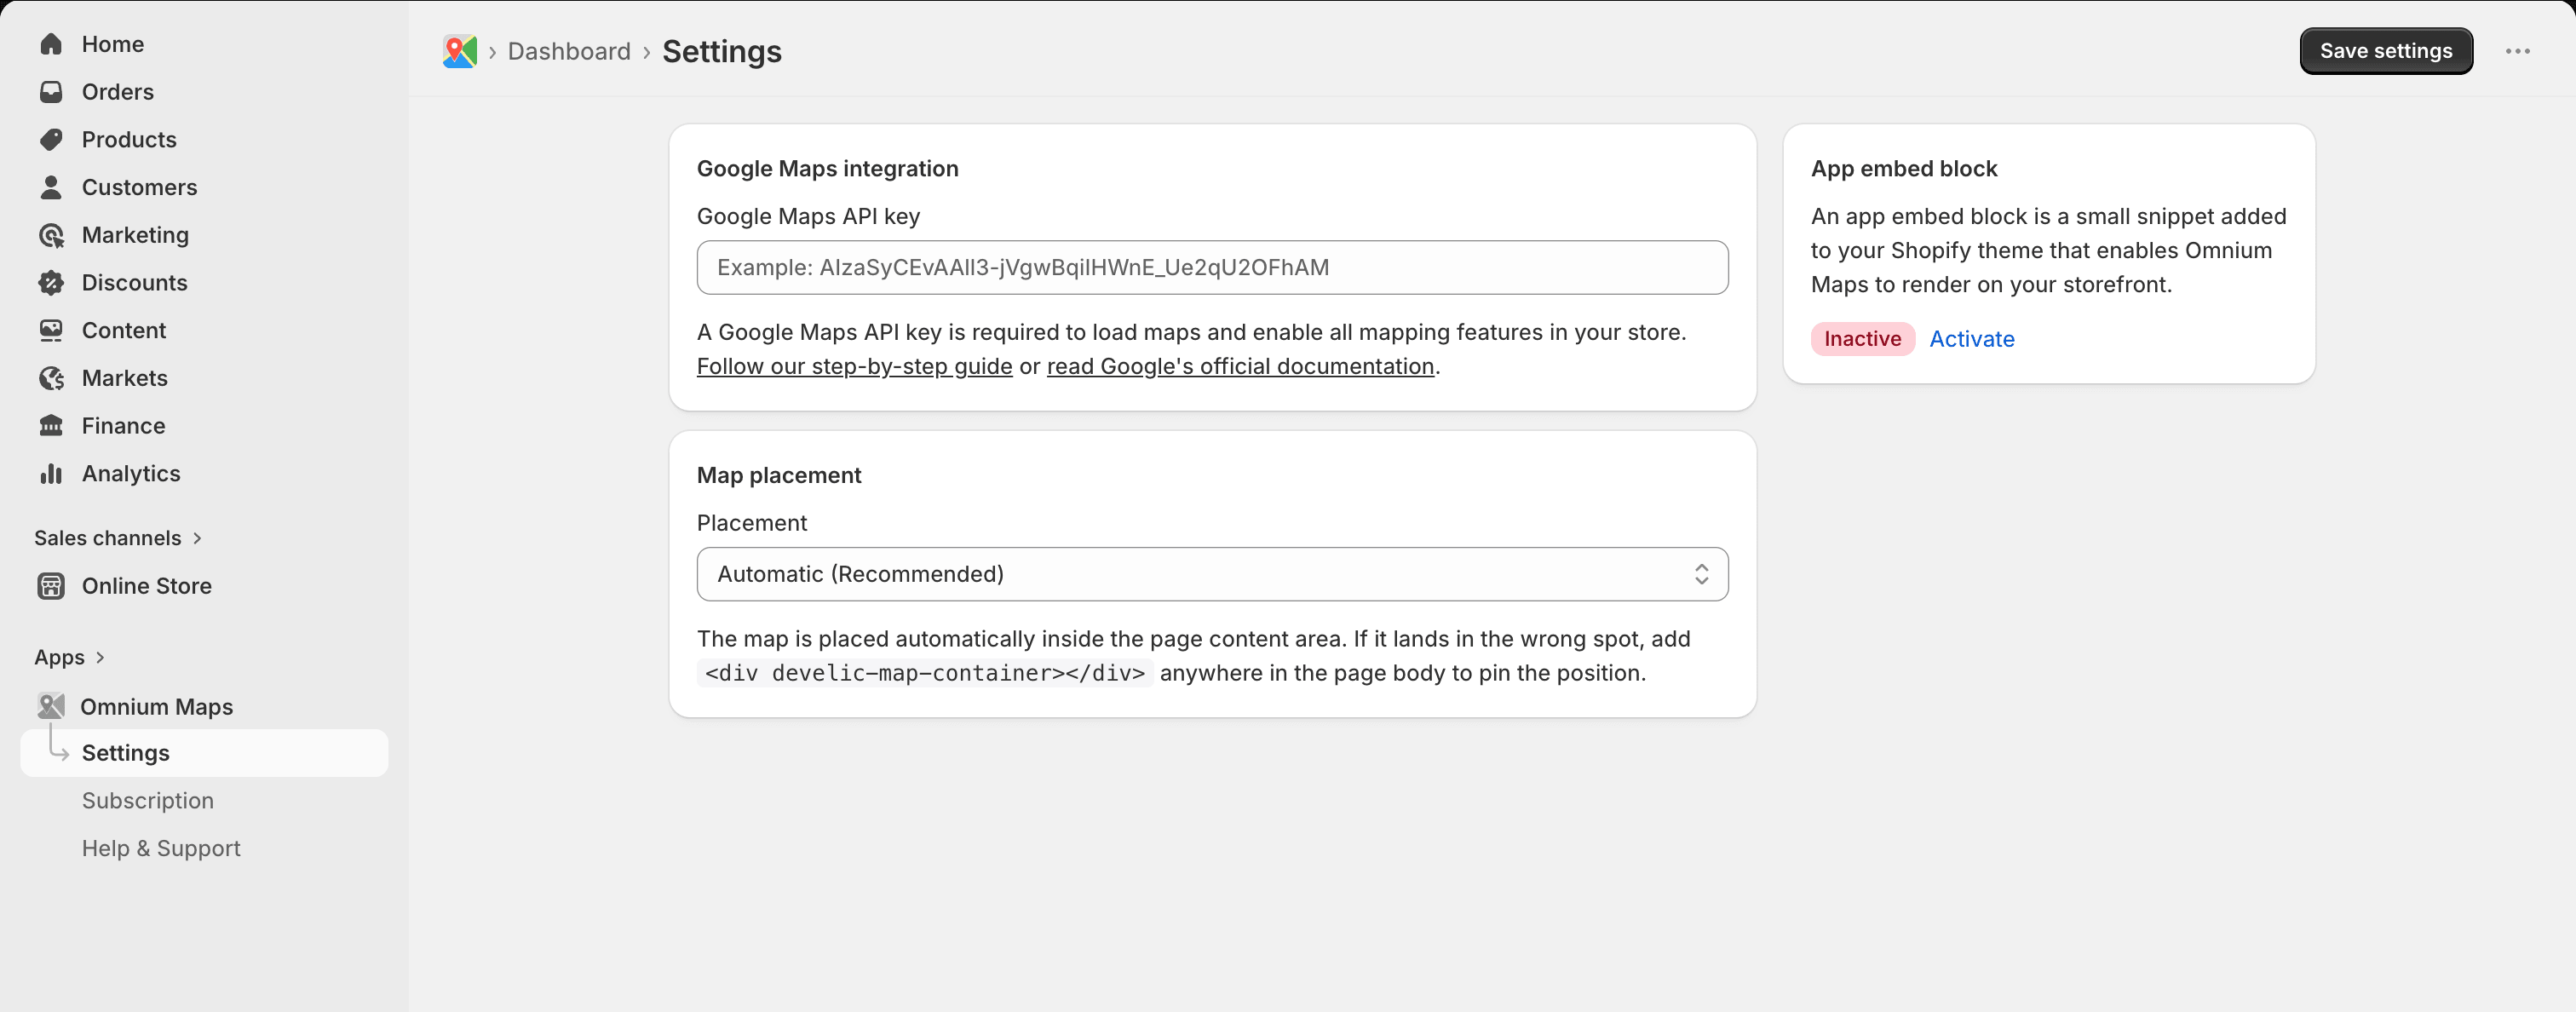
Using your API key
Now that your API key is fully configured and secured, copy it and paste it into the Google Maps API key field on the Settings page in the Omnium Maps app. Click "Save settings" to apply.