Why map styling & Map IDs
Google Maps now expects you to manage styling through cloud-based styles and Map IDs. Rather than pasting JSON arrays into your theme, you design the look in the Google Cloud Console and let your storefront load the right Map ID when the map renders.
- Refresh your map styling any time without redeploying code.
- Point multiple pages or storefronts at the same Map ID.
- Keep every style version organized inside your Google Cloud project.
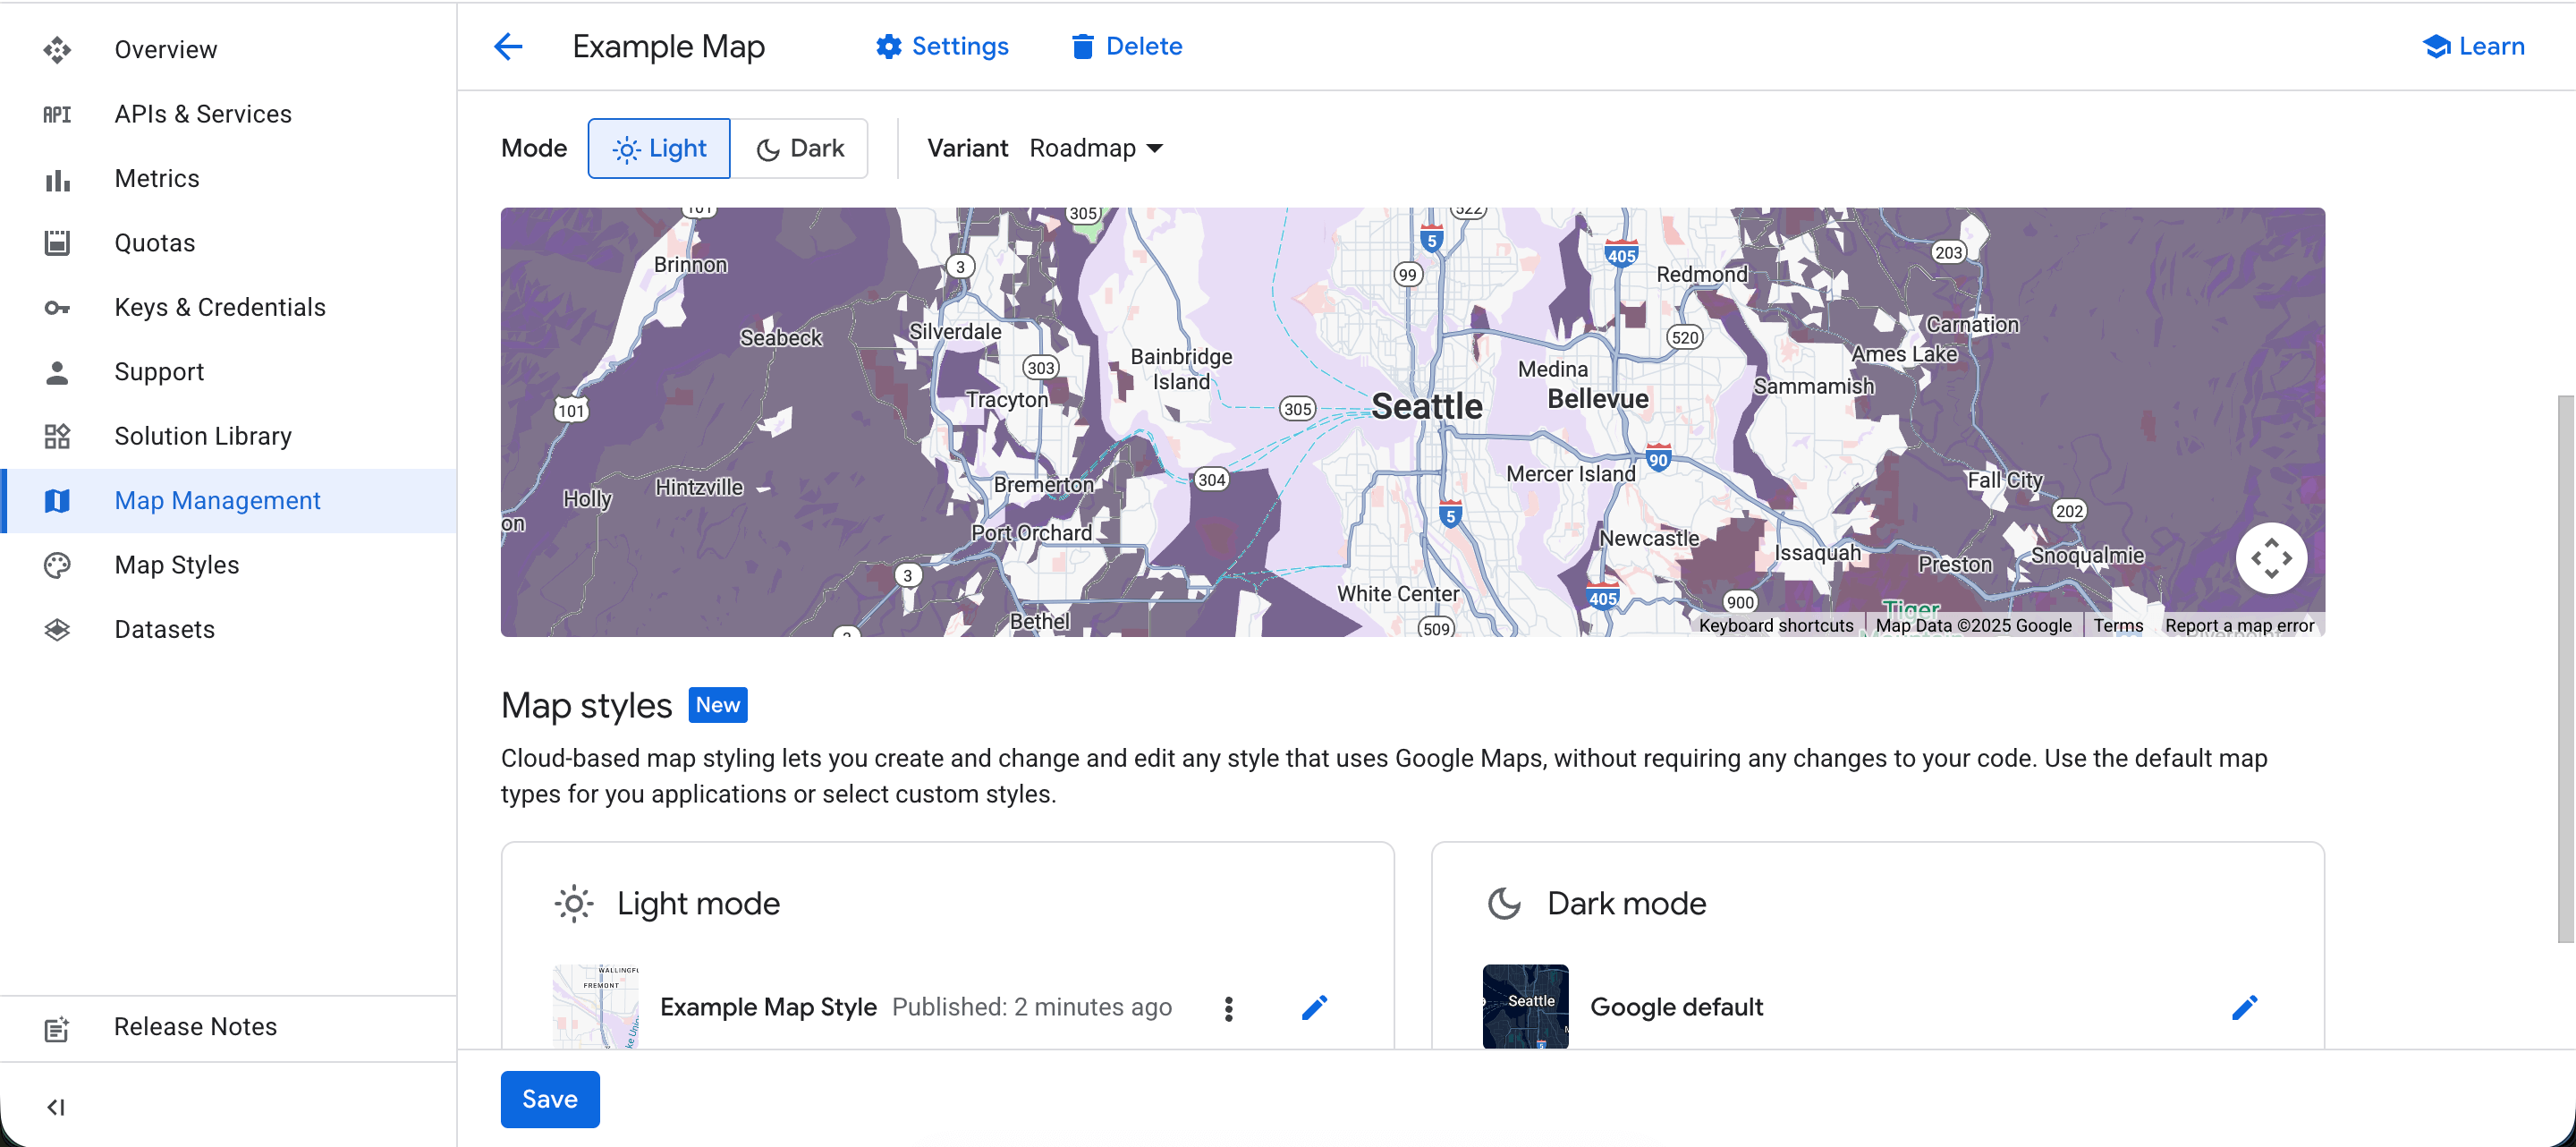
Step 1: Create a Cloud Map Style
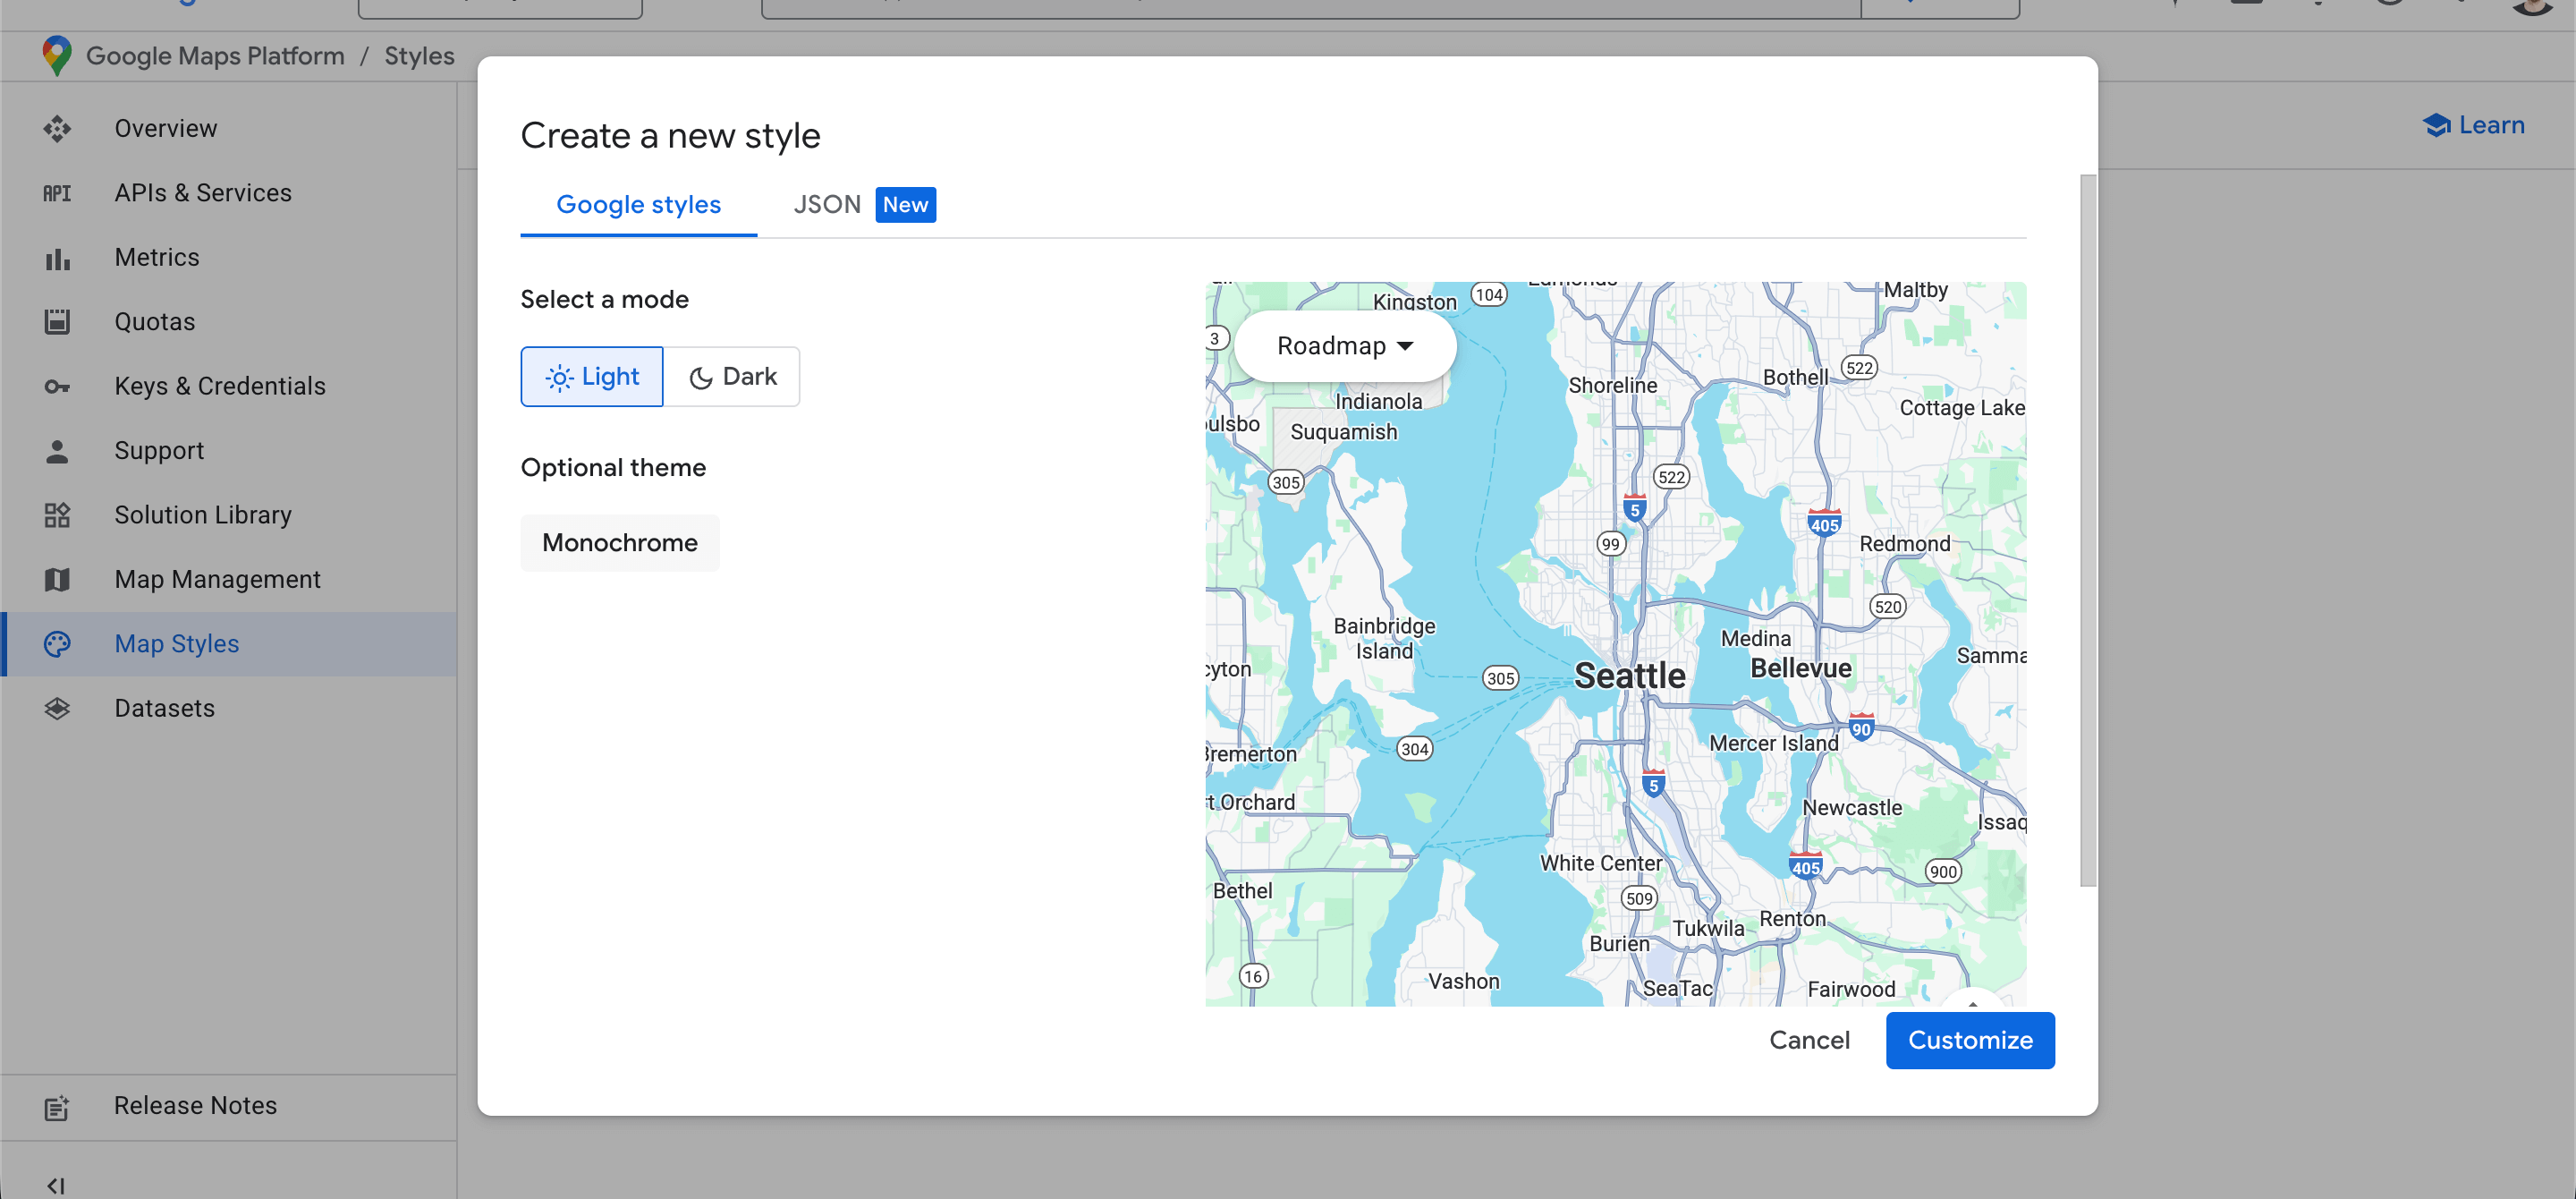
- Open the Google Maps Platform Styling Studio inside Google Cloud.
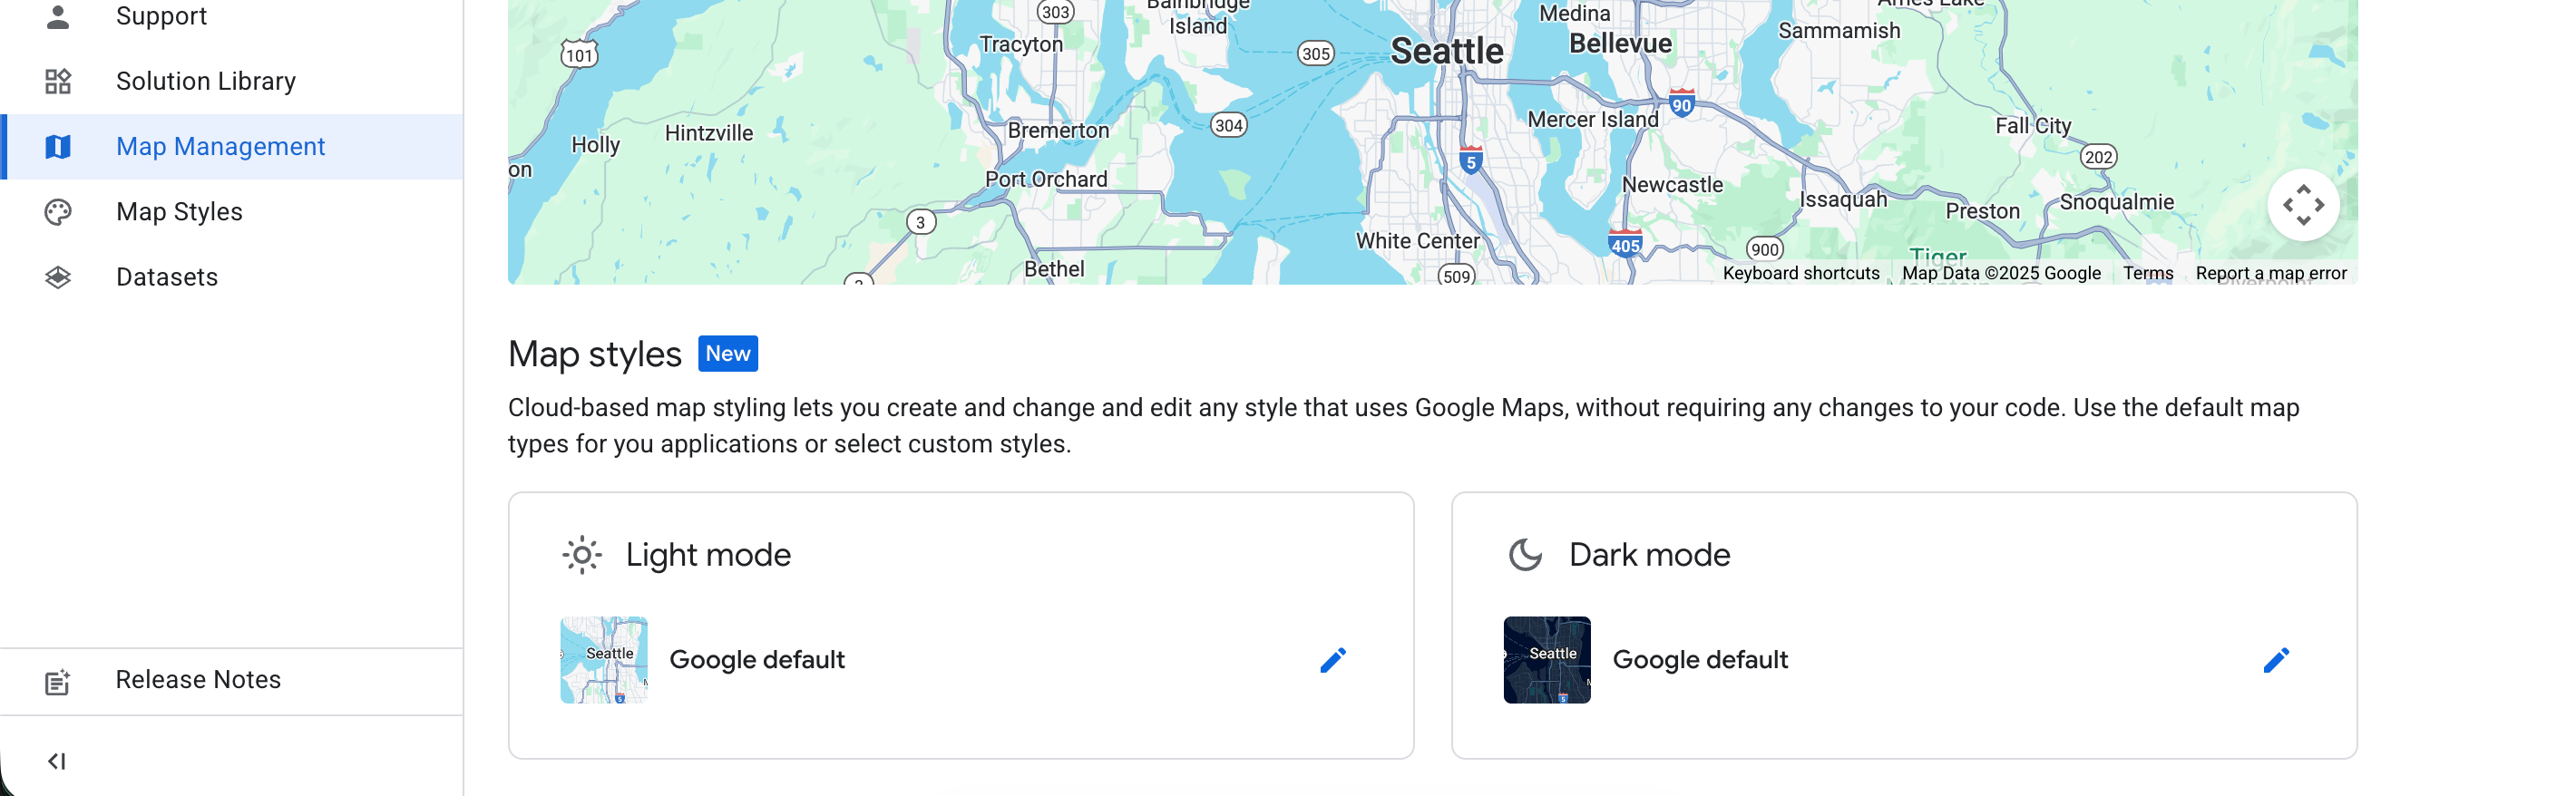
- Select Create style, choose the base map you want to fine-tune, and name the style so you remember where it's used. Running light and dark storefront themes? Craft one style for each so you can switch between them later.
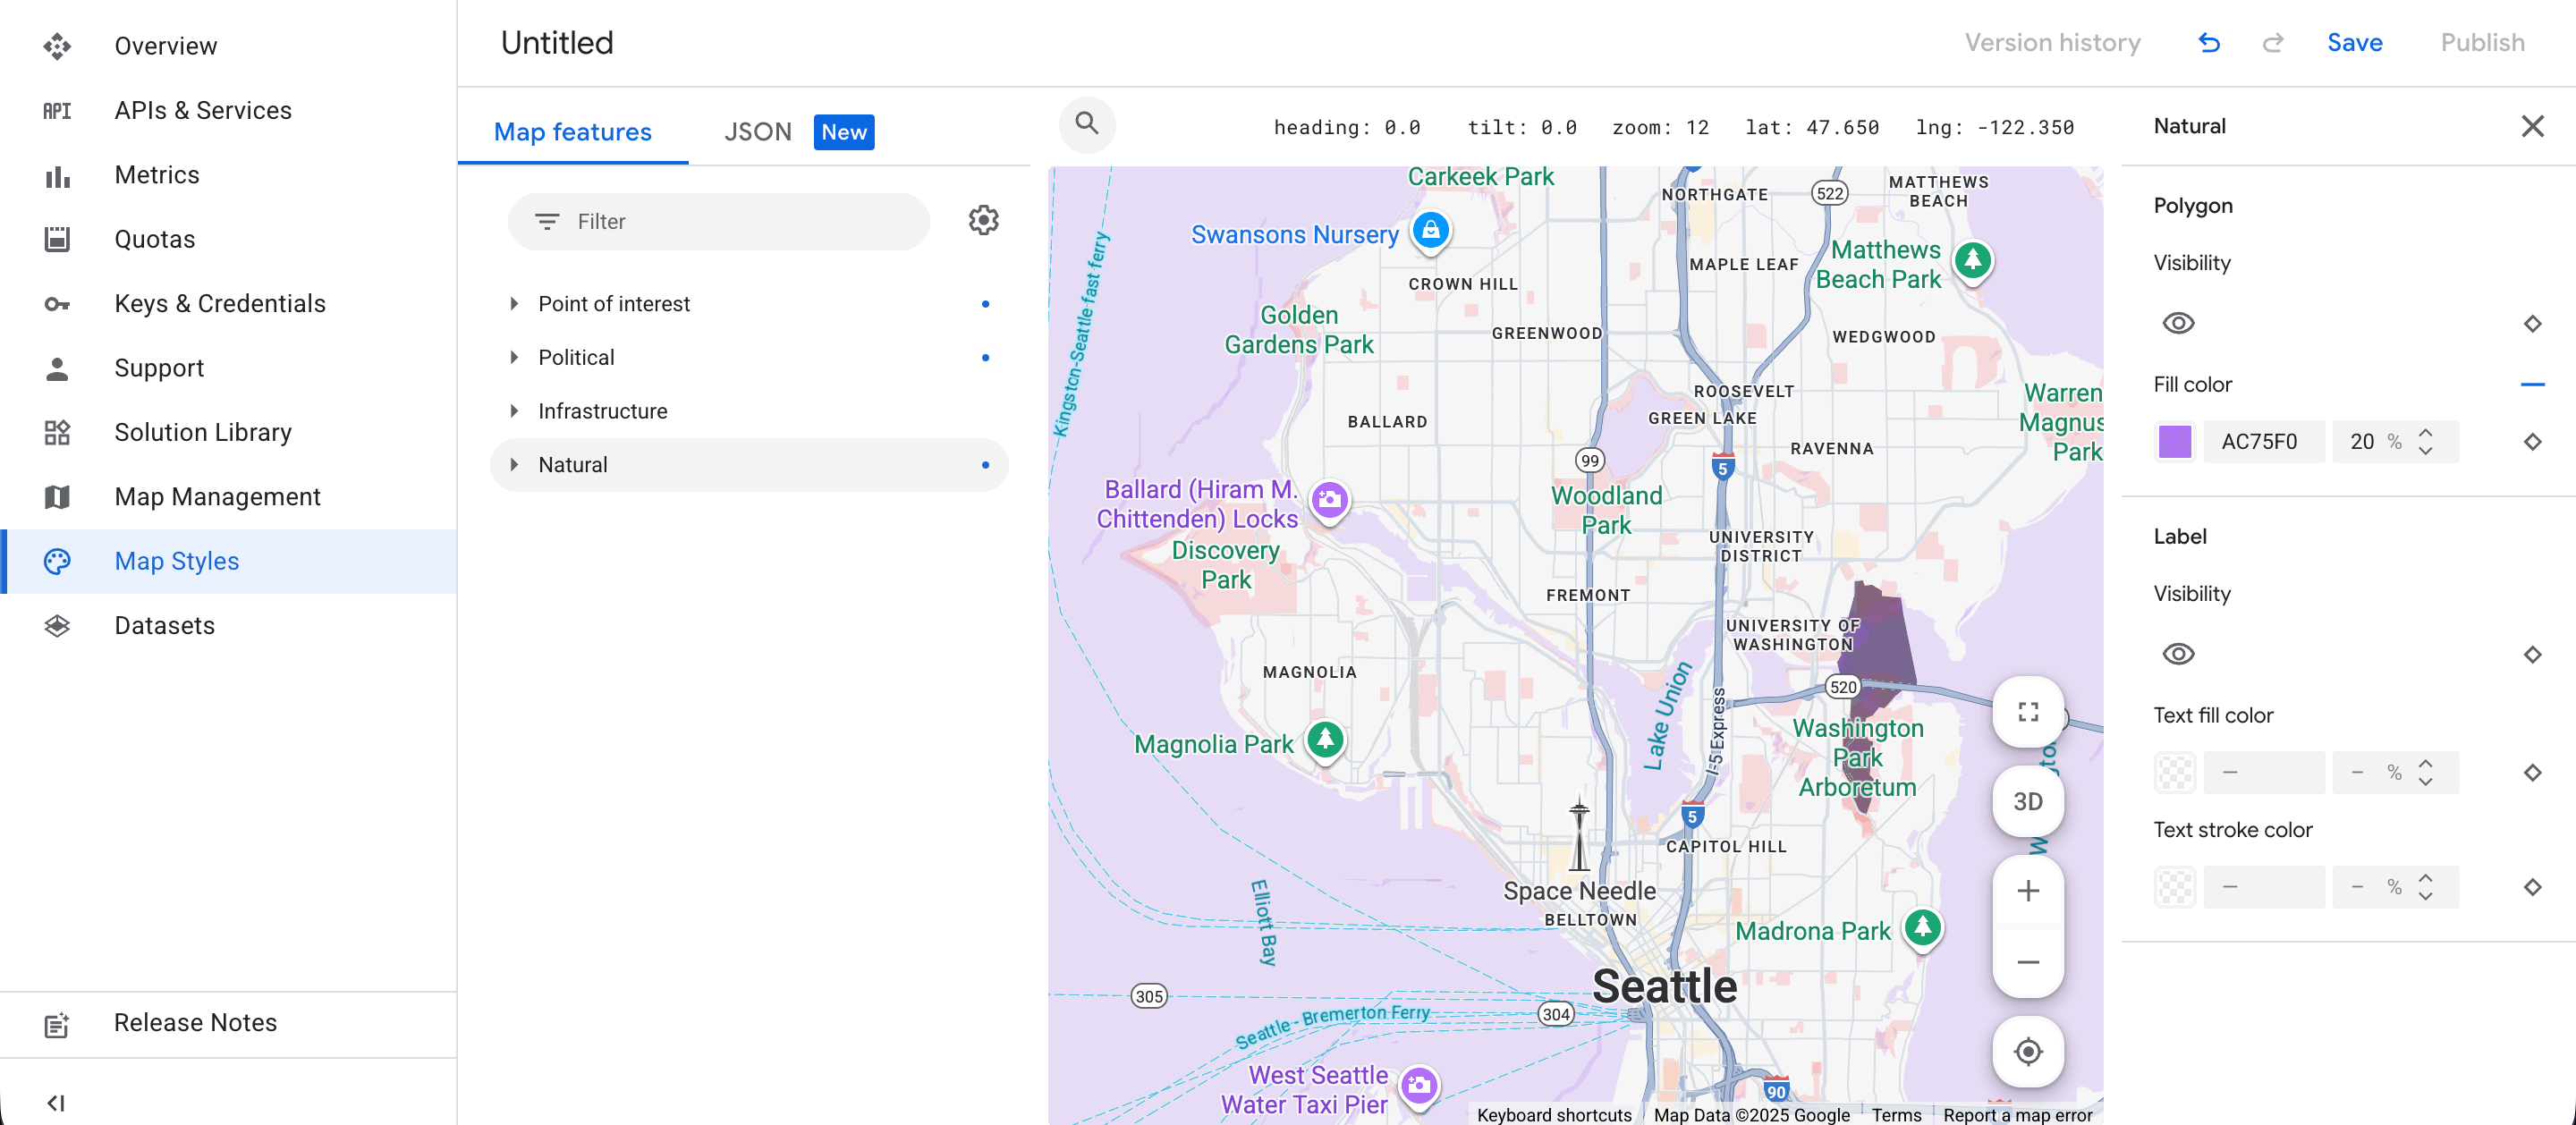
- Adjust colors, toggle feature visibility, and preview changes until the live map matches your brand.
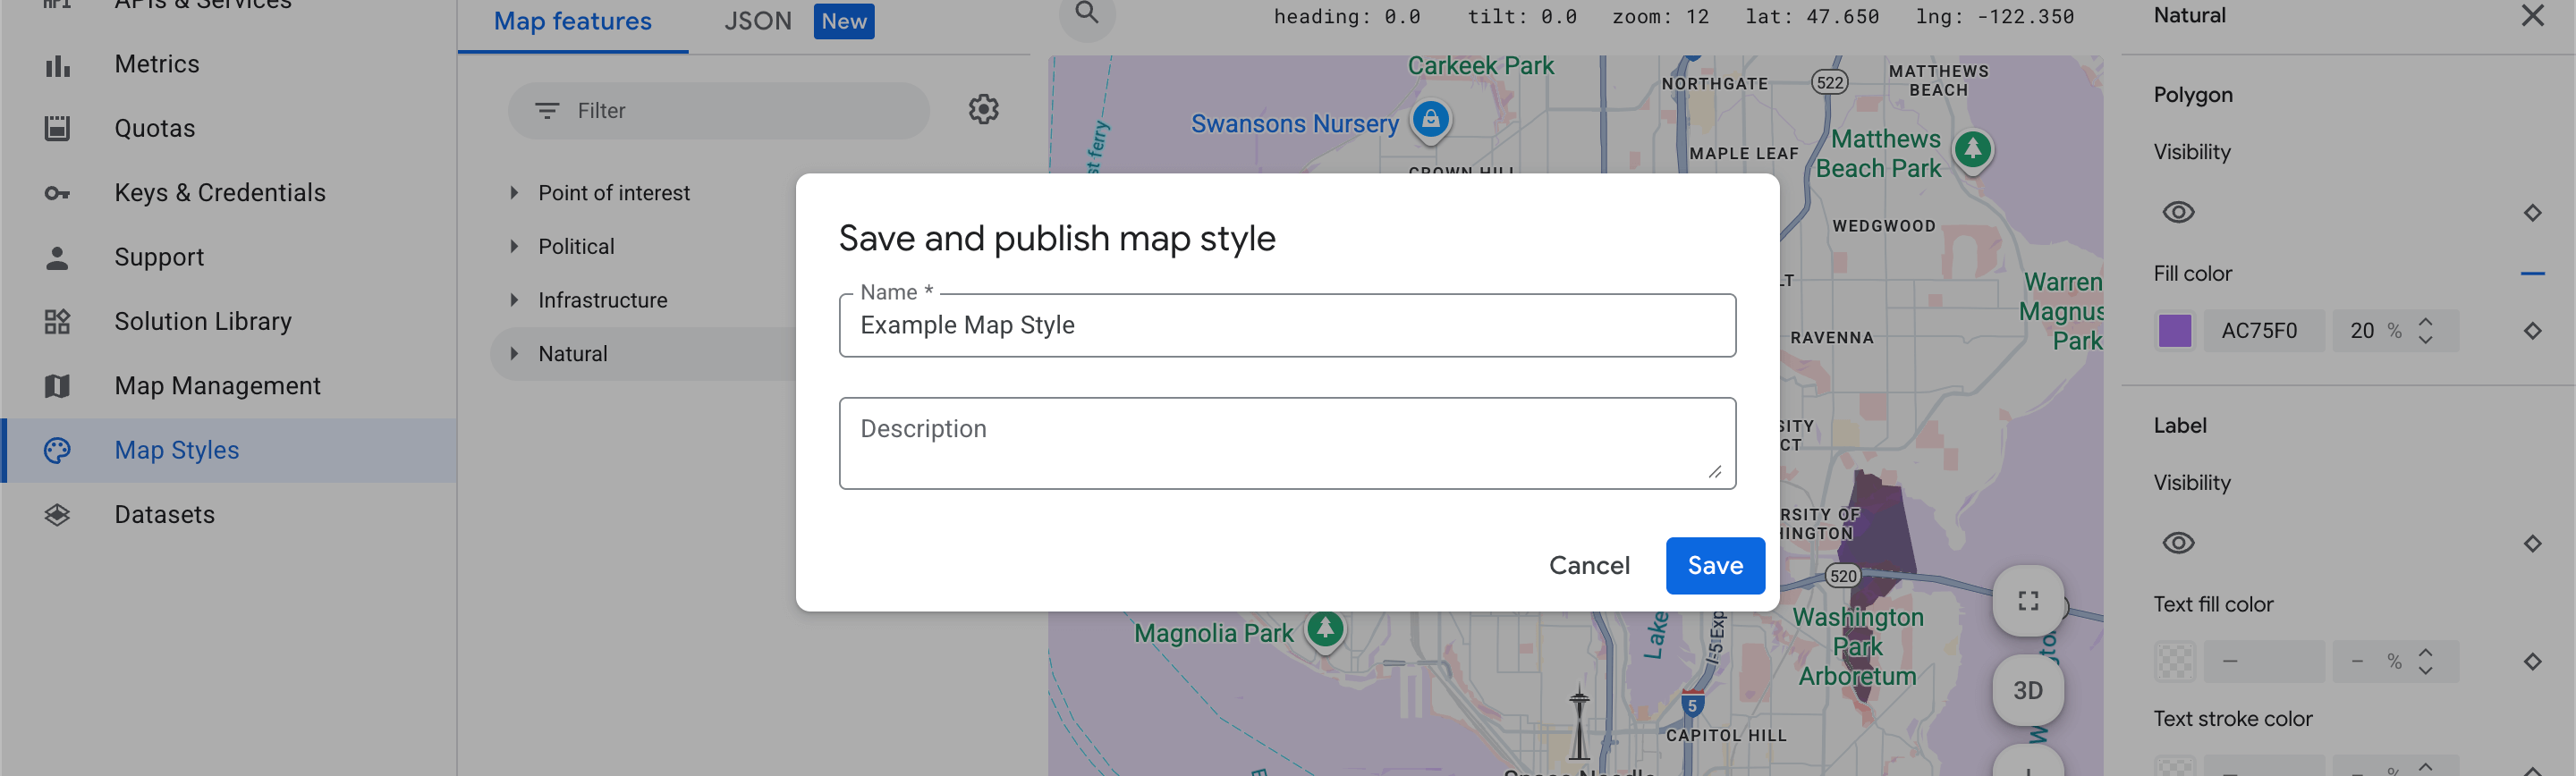
- Click Save. After a brief publish cycle, the style appears in your styles list ready to use.

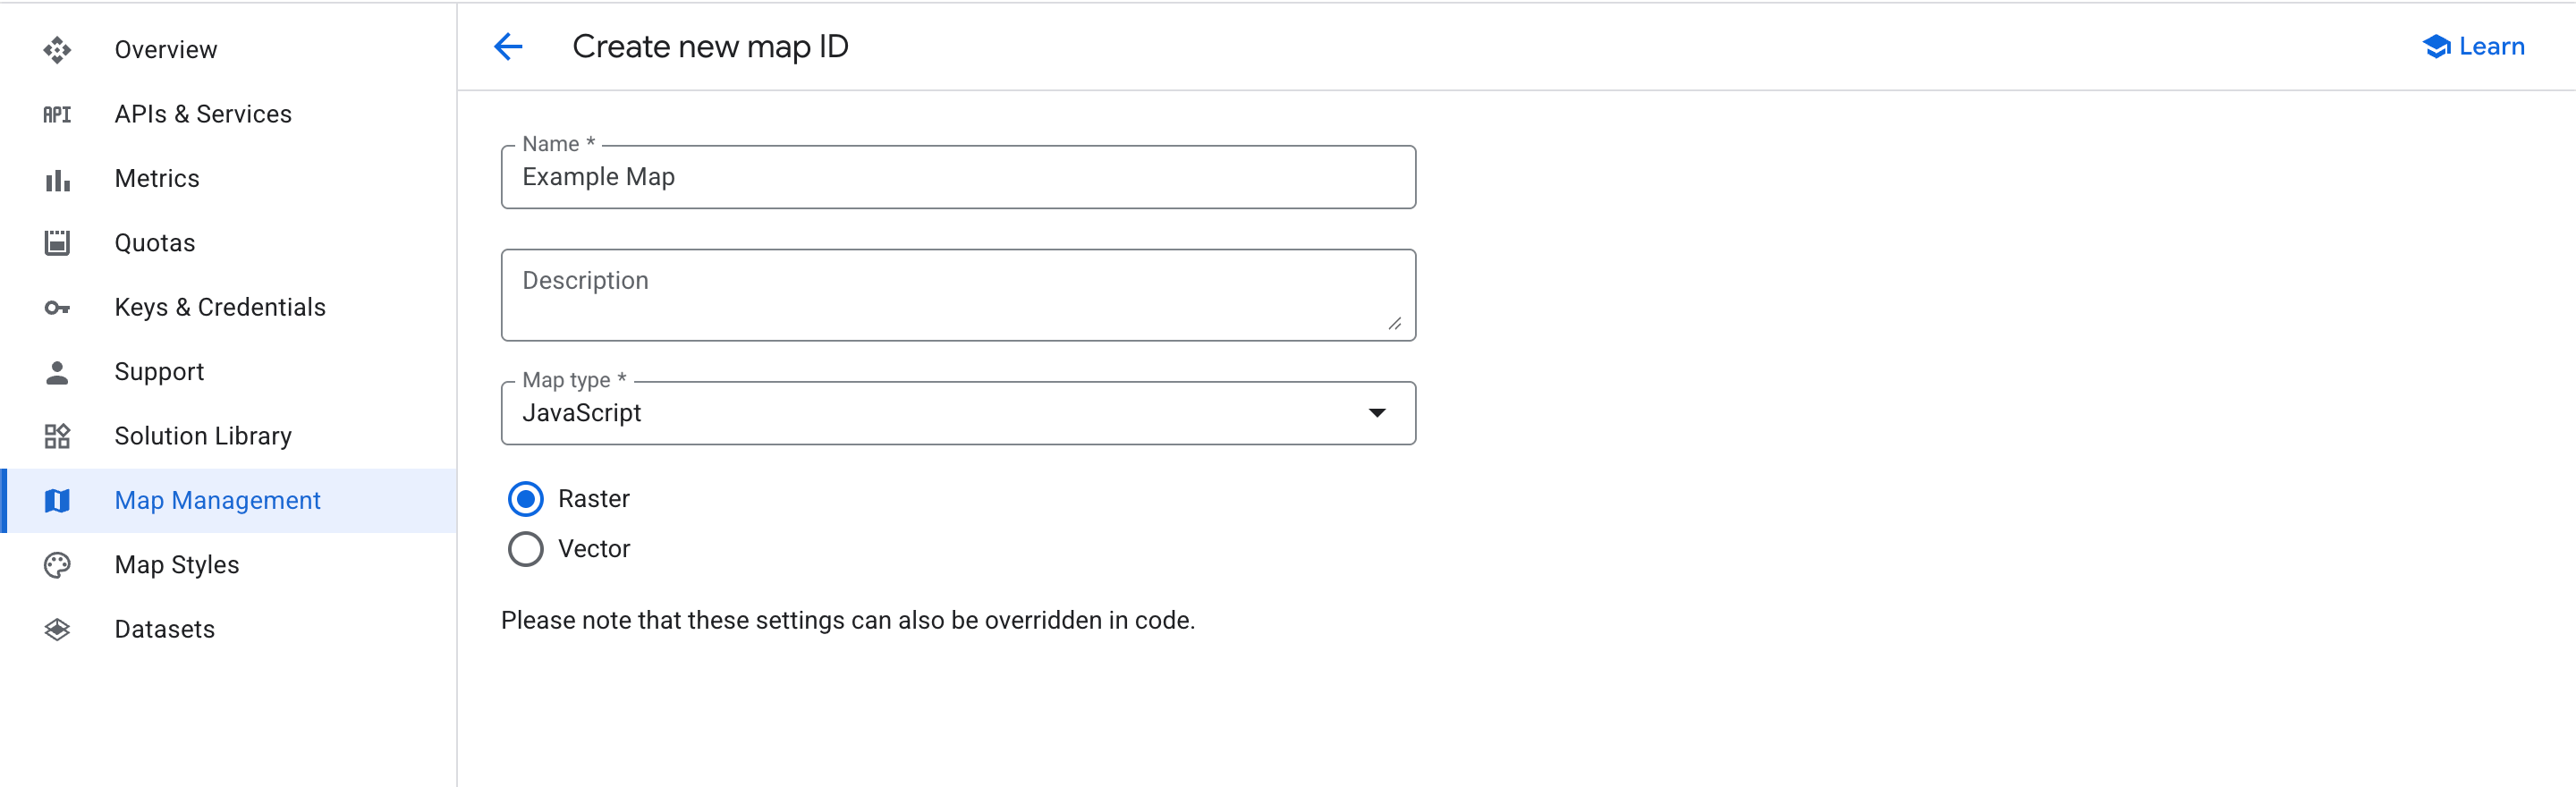
Step 2: Create a Map ID
A Map ID connects your published style to the Maps JavaScript API. Each map in Omnium Maps has its own Map ID field, so you can use different styles on different pages. Create one Map ID per style you want to use.
- Open the Google Maps Platform map list.
- Select Create Map ID, give it a descriptive name, and choose JavaScript as the platform.
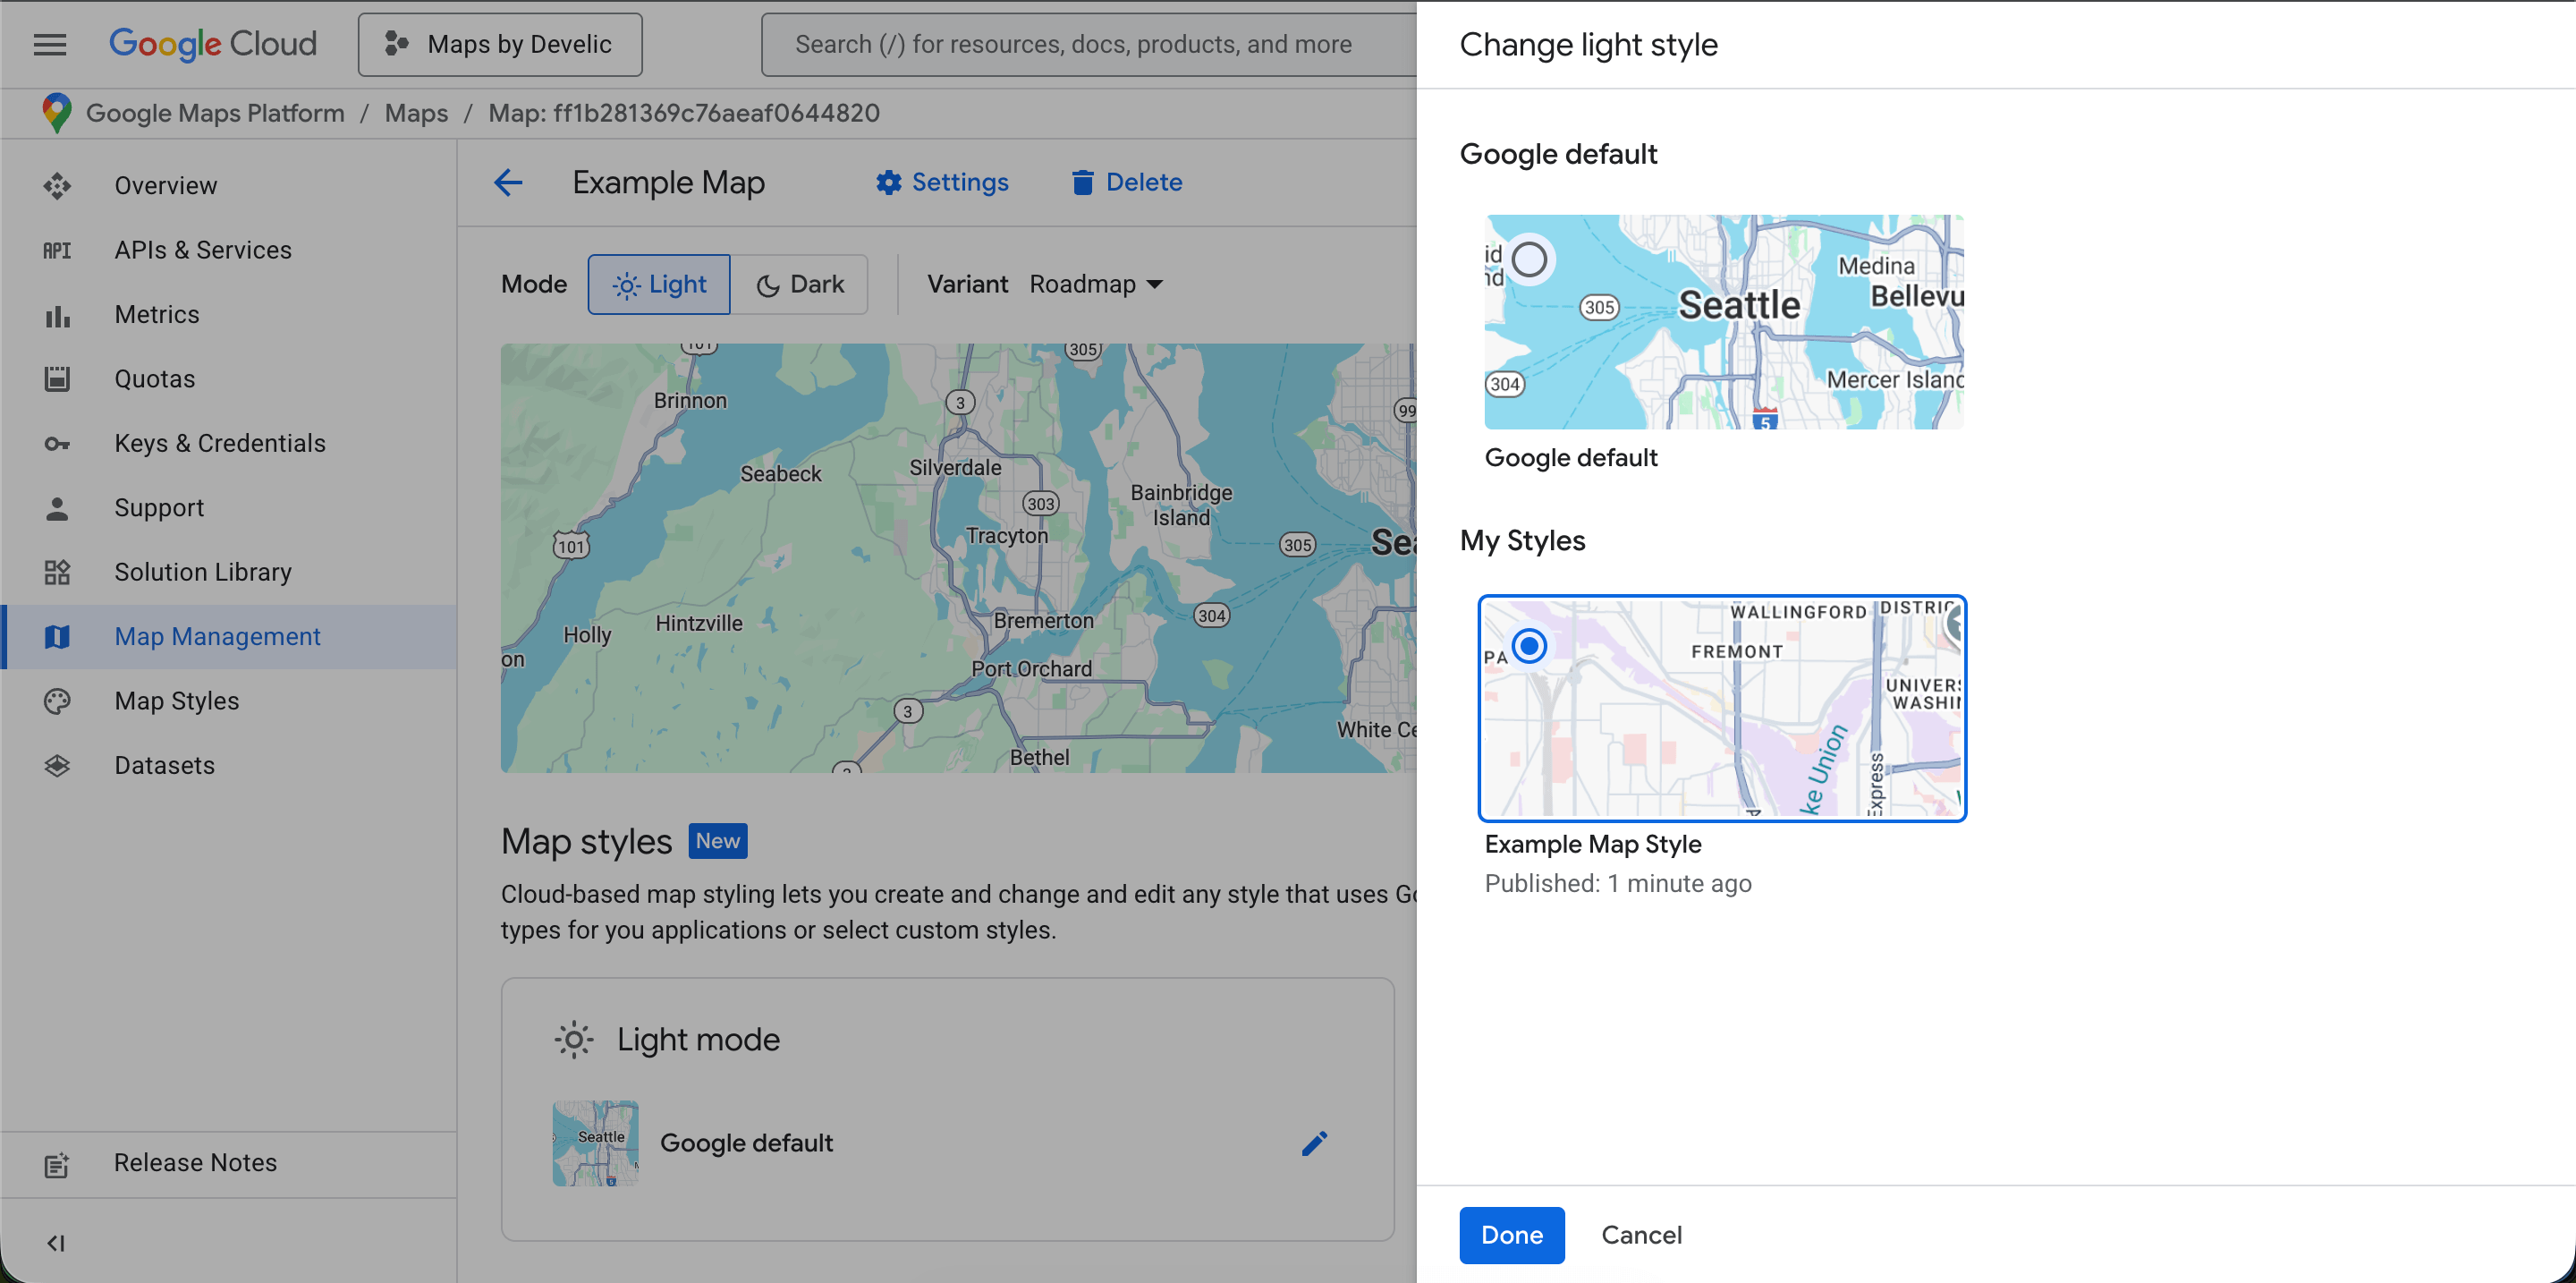
- In the Map style dropdown, assign the style you finished in Step 1 and confirm the feature settings.
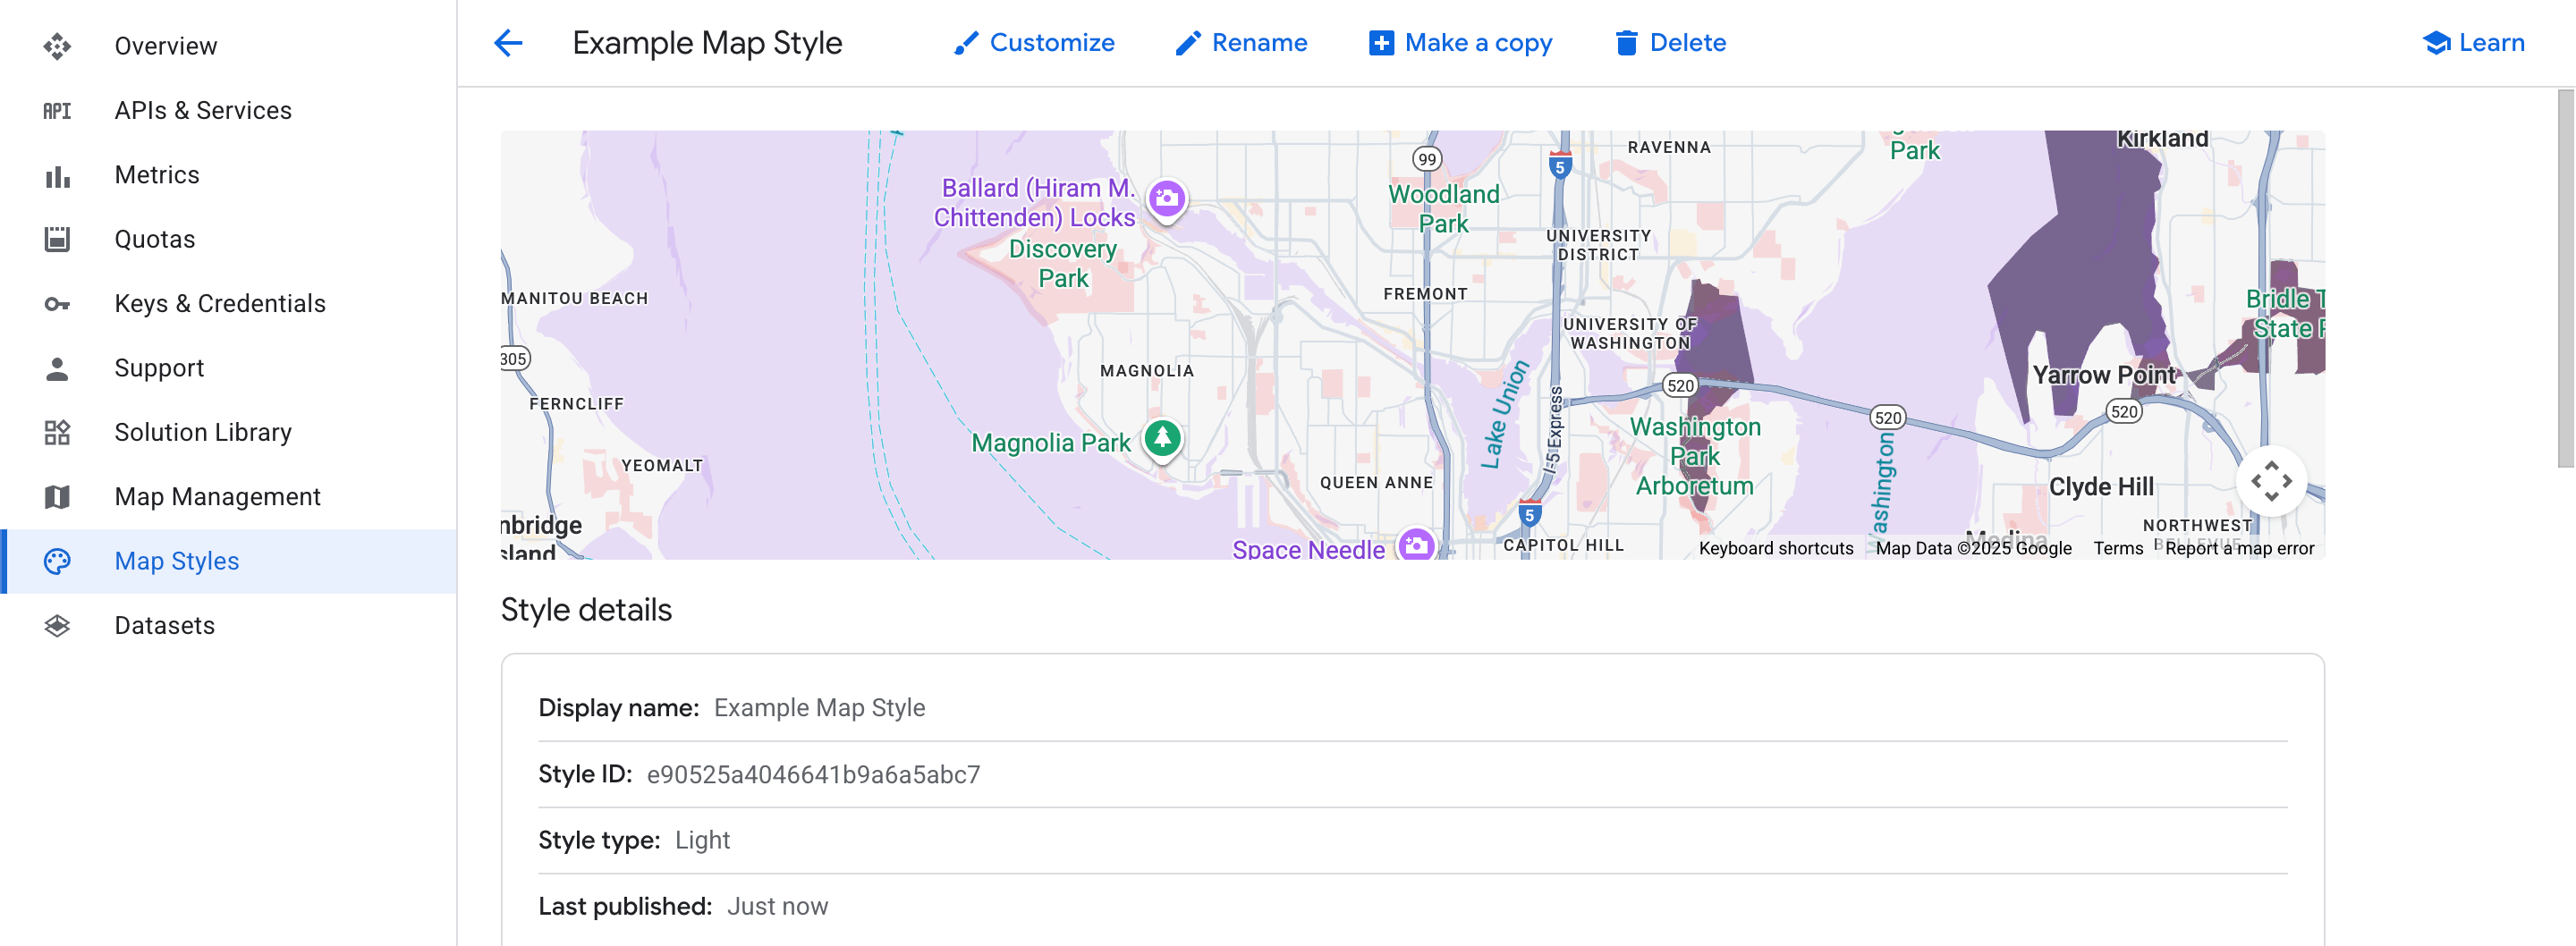
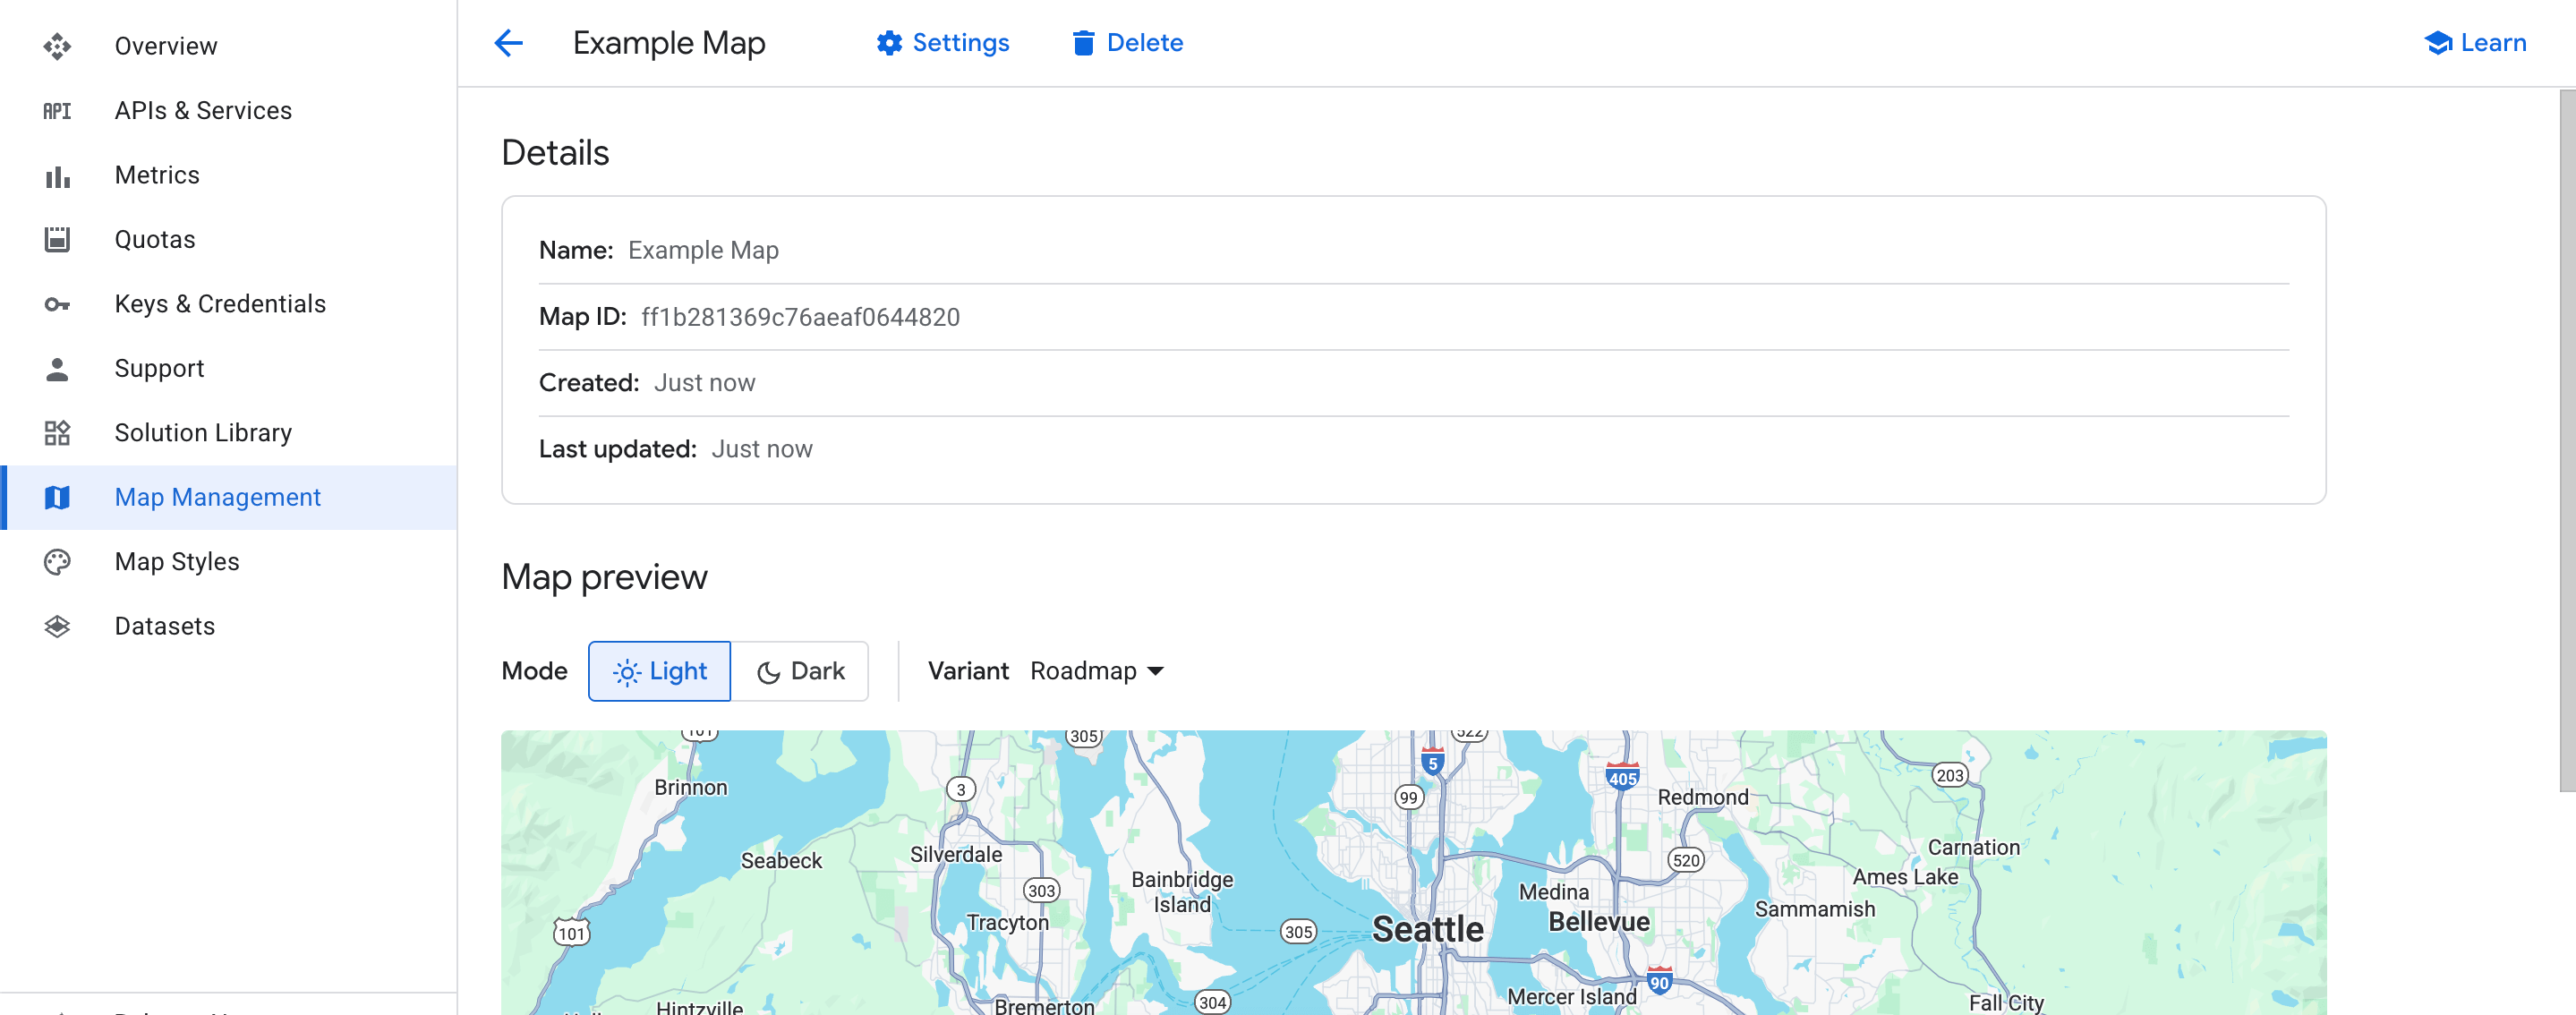
- After the Map ID is created, open it from the list and copy the alphanumeric value (for example,
df4a1b2c123abc45).


Step 3: Use the Map ID in Omnium Maps
- Open the Omnium Maps app in your Shopify admin, open the map editor, and go to the "Map settings" tab.
- Paste the Map ID value into the Google Maps Map ID field, making sure there are no extra spaces.
- Save your settings, then refresh your storefront to confirm the custom styling is active.

Name each Map ID after the page it powers so it's easy to find later. The Map ID field is optional. If you leave it empty, the map renders with the default Google Maps appearance. To remove custom styling, clear the field and save again.