Install Omnium Maps and start the onboarding
Start by installing Omnium Maps from the Shopify App Store.
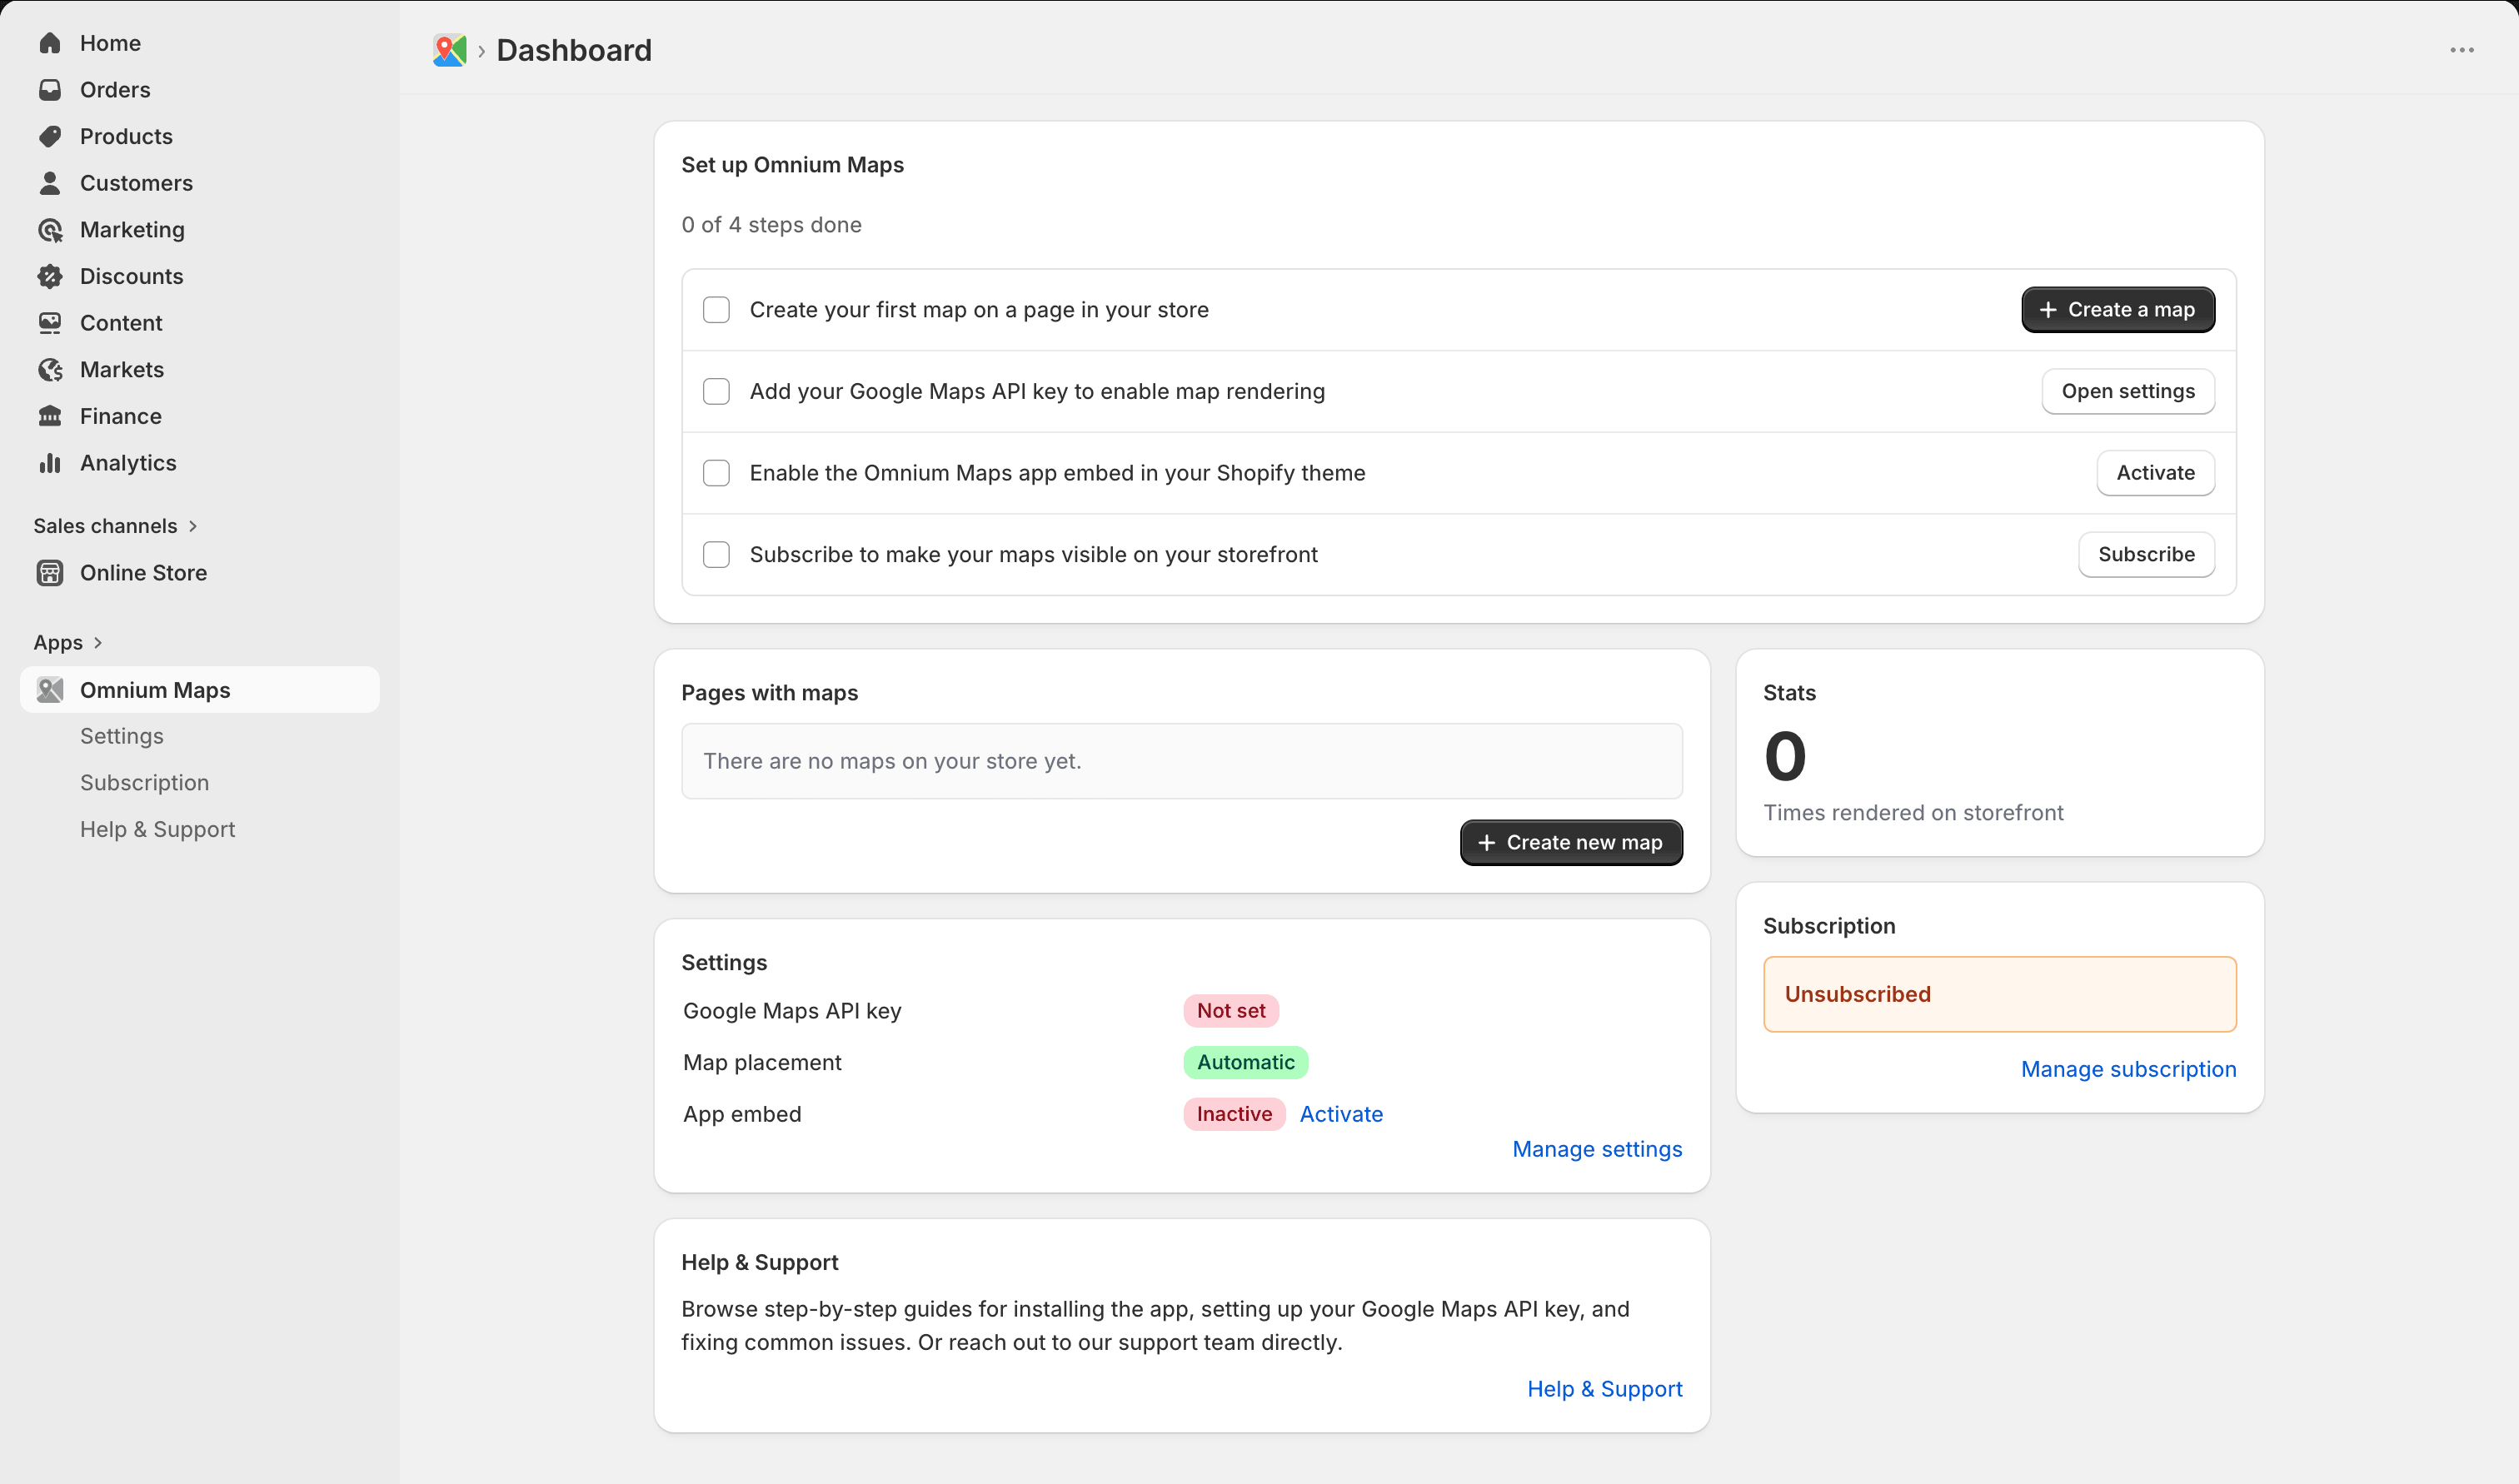
After installation you'll land on the app dashboard, which shows a 4-step onboarding guide. Follow all four steps in order. The onboarding walks you through the complete setup, and this guide mirrors those same steps.
Step 1: Create your first map
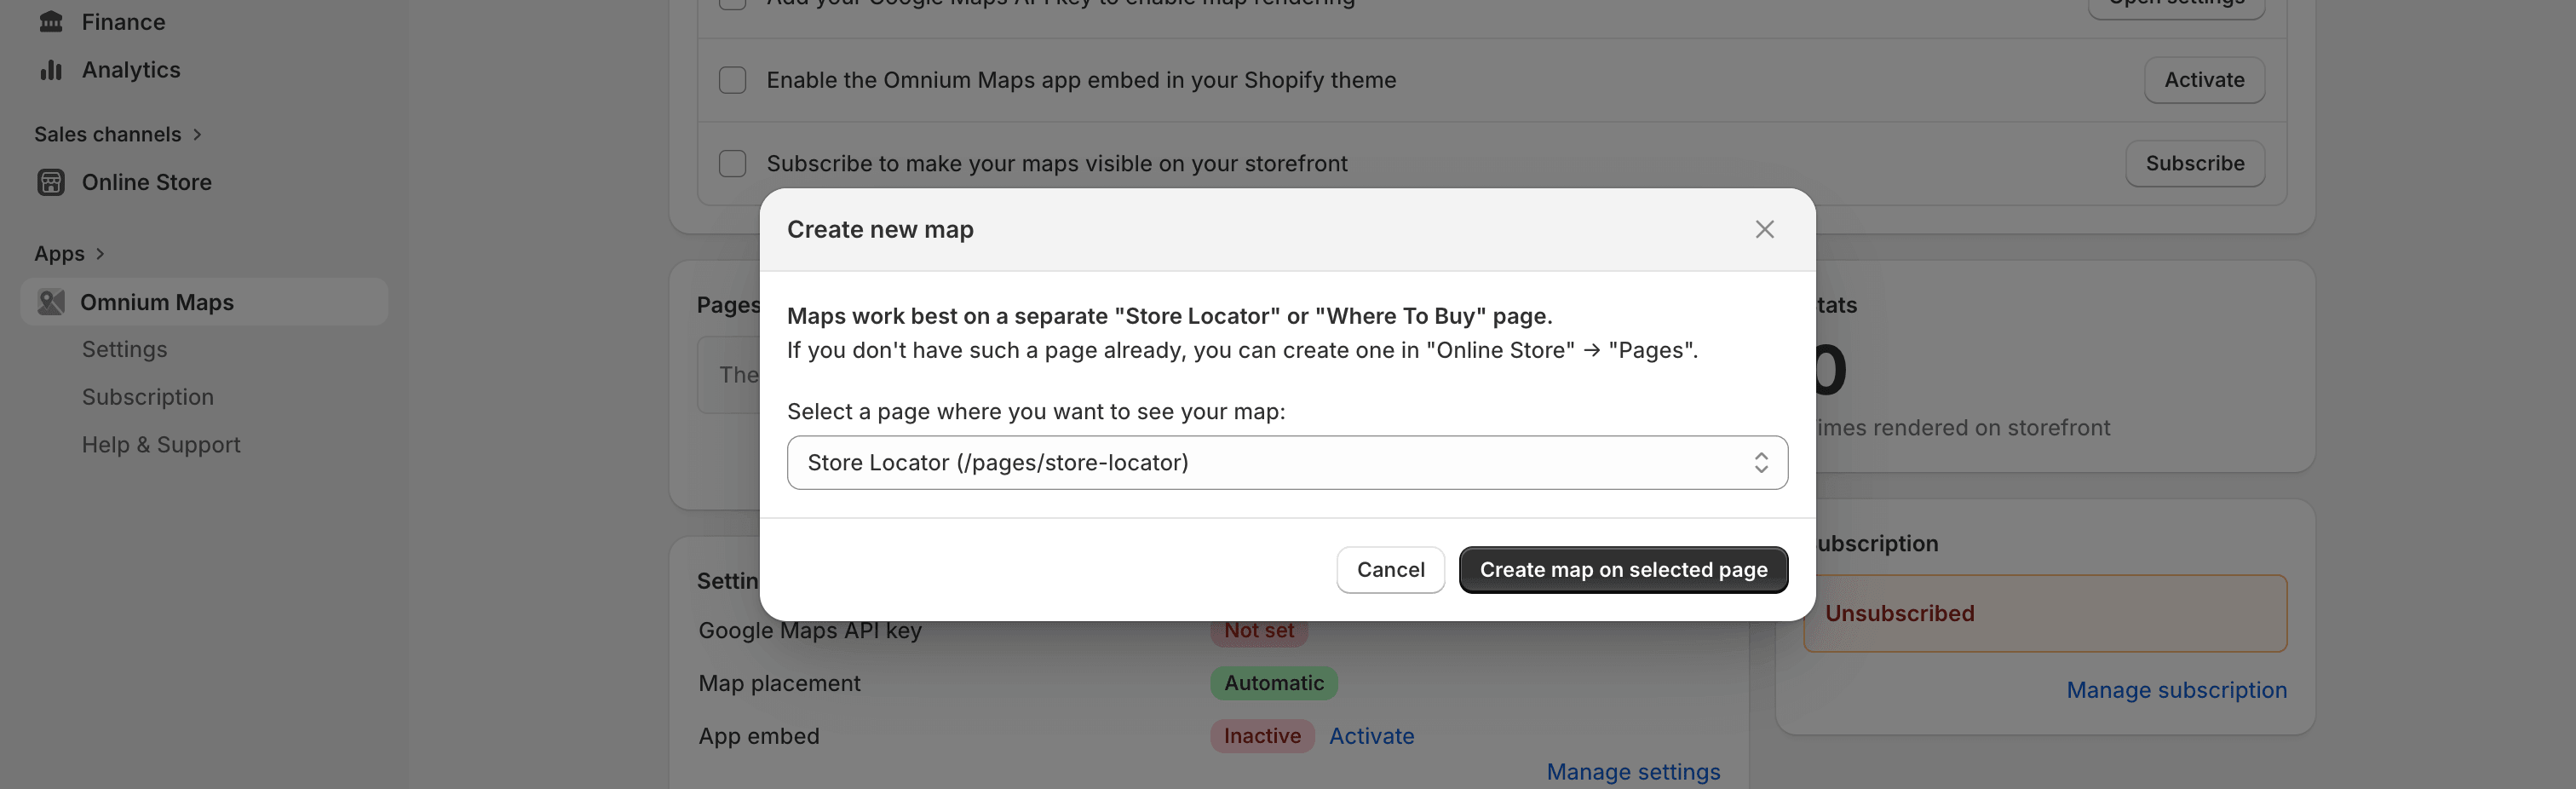
From the dashboard, click "Create a map" in Step 1 of the onboarding guide. A modal appears asking which store page to link the map to. Every map is tied to a specific Shopify page, so pick the page where you want the store locator to appear.
After selecting a page, the map editor opens. Add your locations by typing addresses directly and the app geocodes them automatically. Fill in as many locations as needed, and adjust map settings (styles, search, clustering, and more) to your liking.
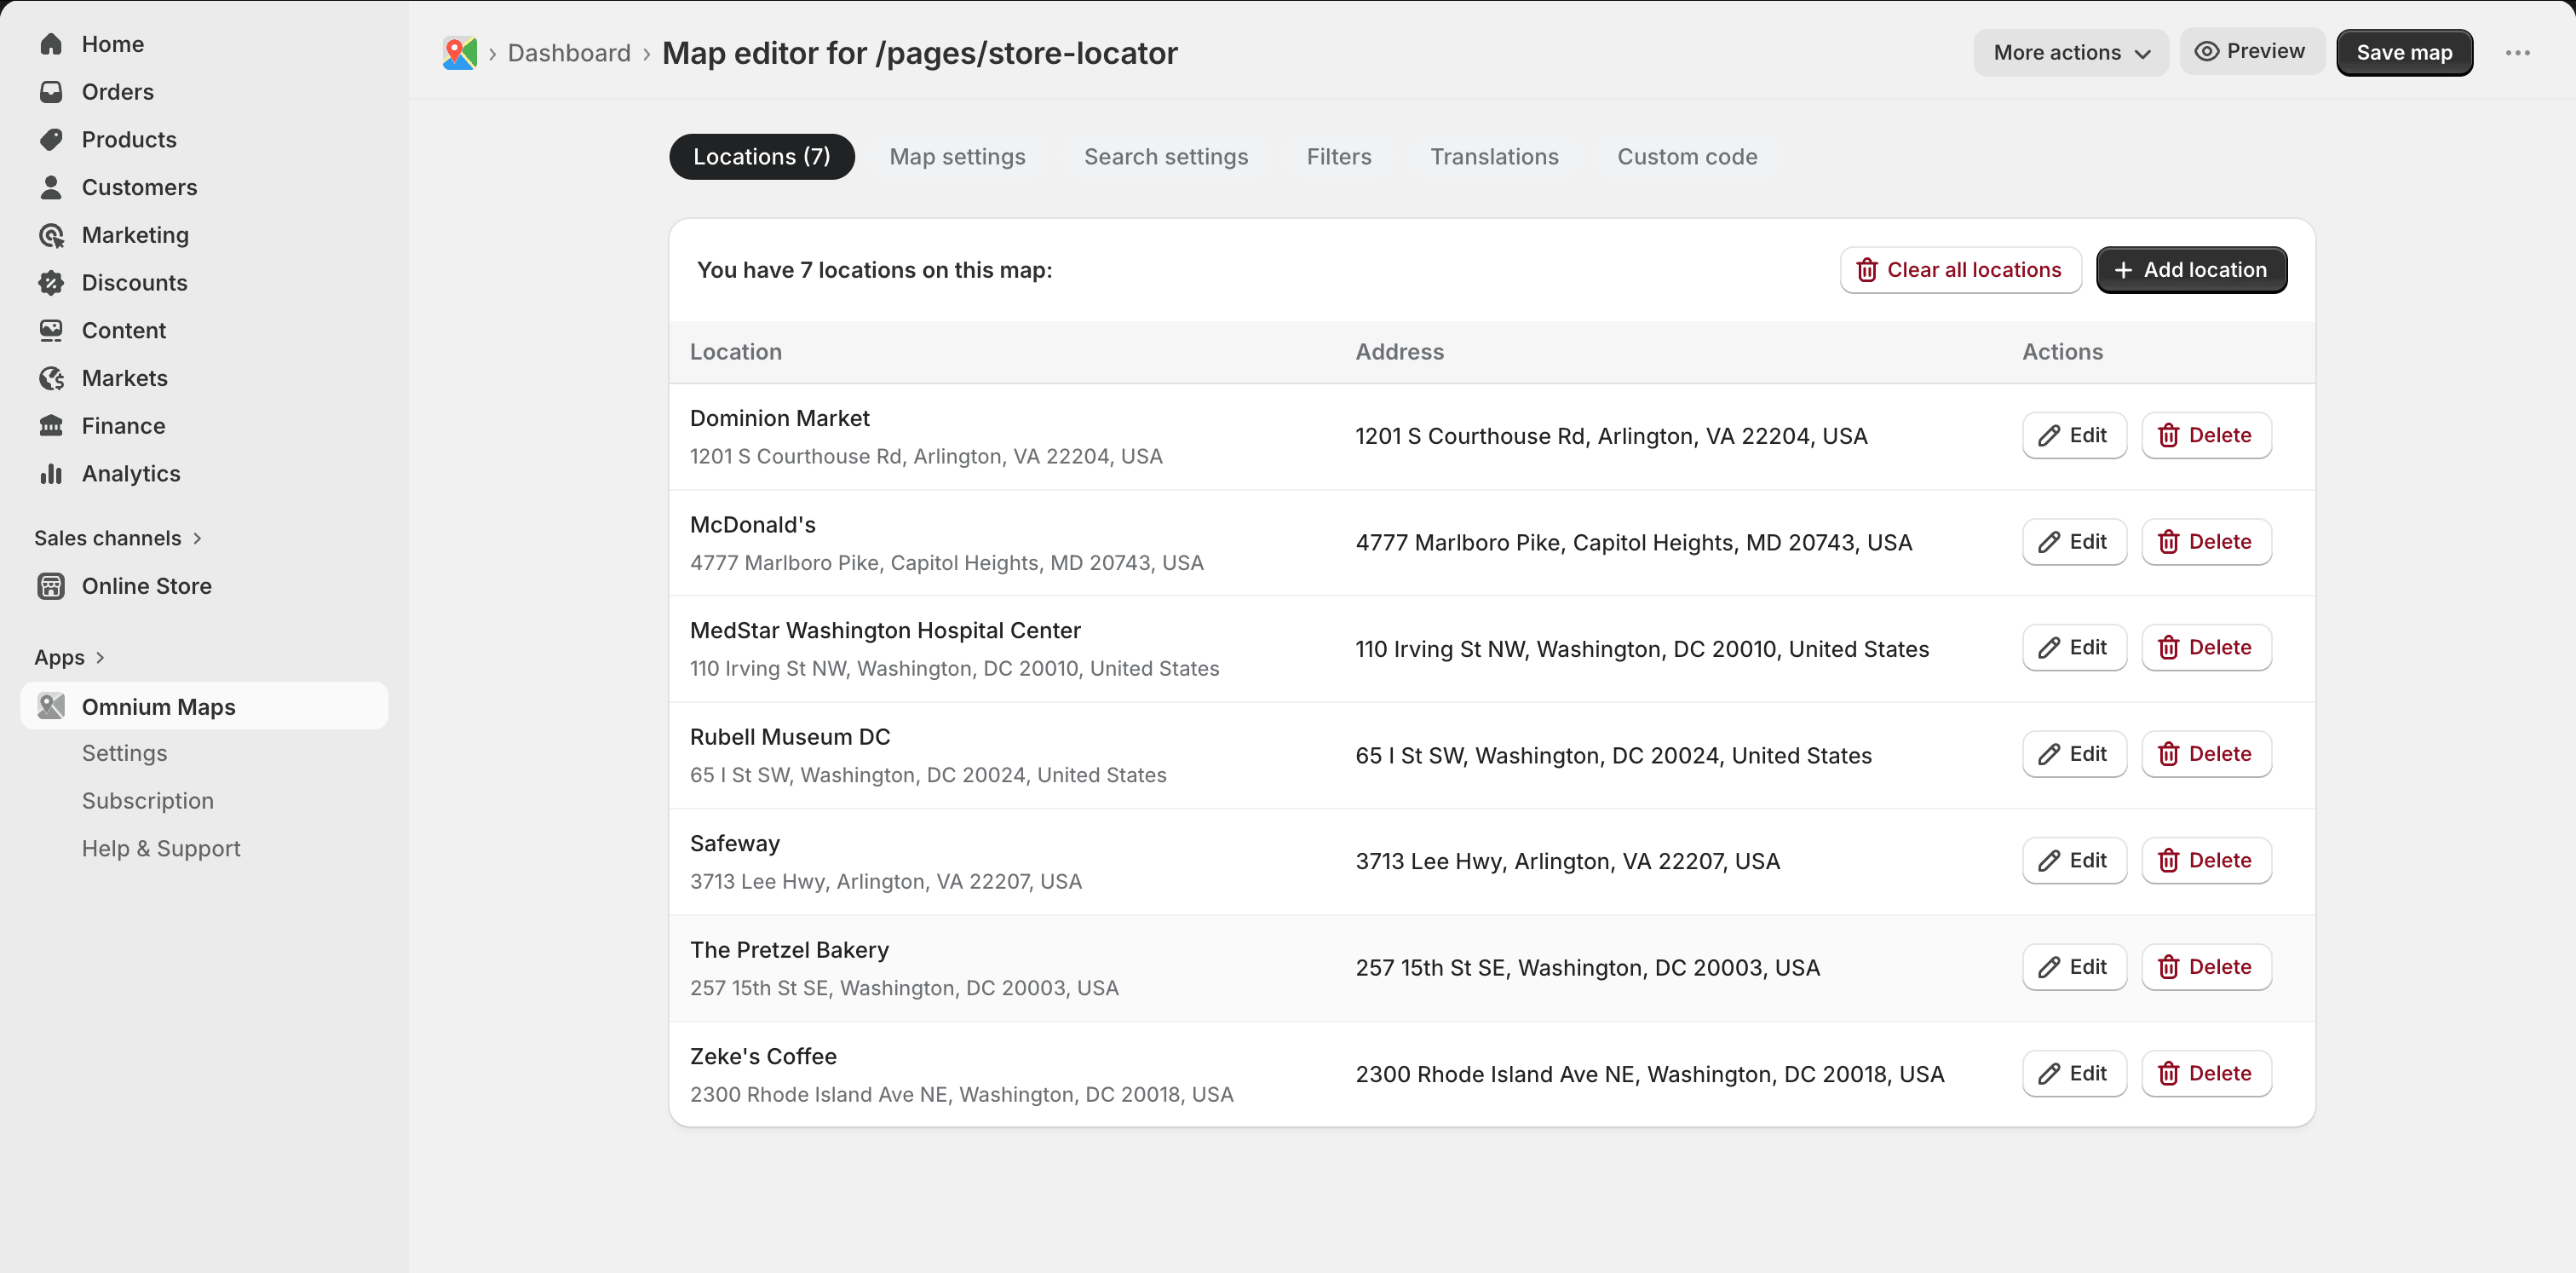
Once the map is set up, click "Save map" in the top right to save your work.
After saving, click "Preview" to see how the map will look on your storefront. The preview opens inside the Shopify admin window without leaving the app.
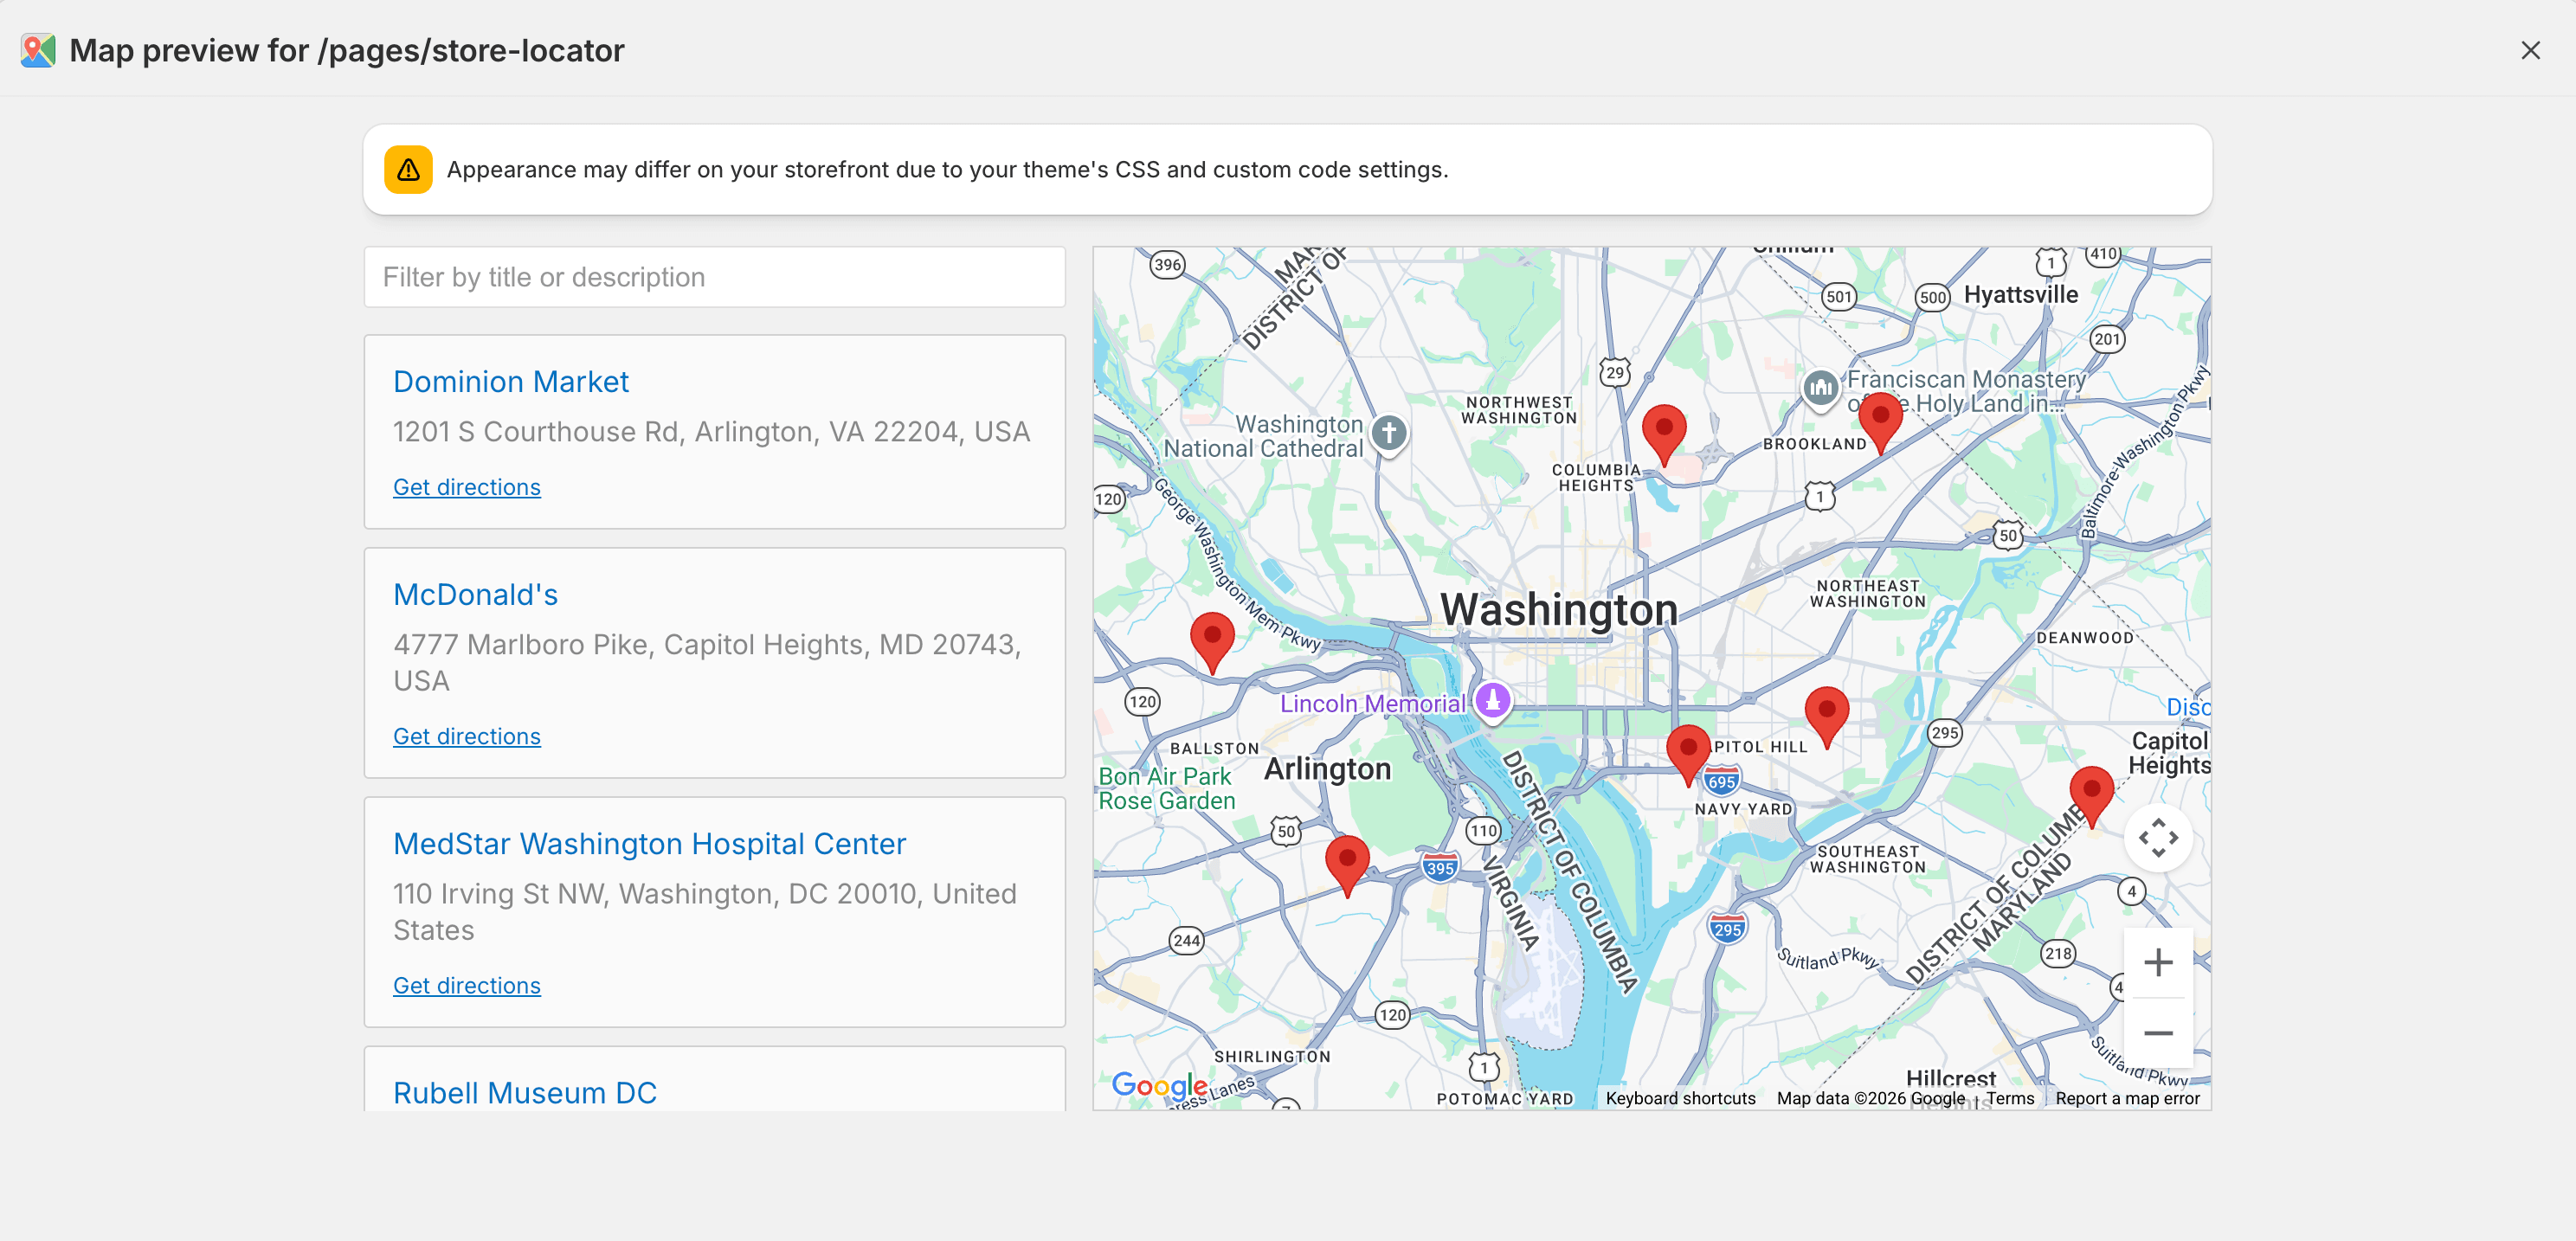
Once you're satisfied with the preview, close it and return to the dashboard to continue with the remaining setup steps.
Steps 2 and 3: Configure API key and app embed
Both of these steps are completed from the Settings page. Open it from the dashboard navigation or click "Open settings" in Step 2 of the onboarding guide.
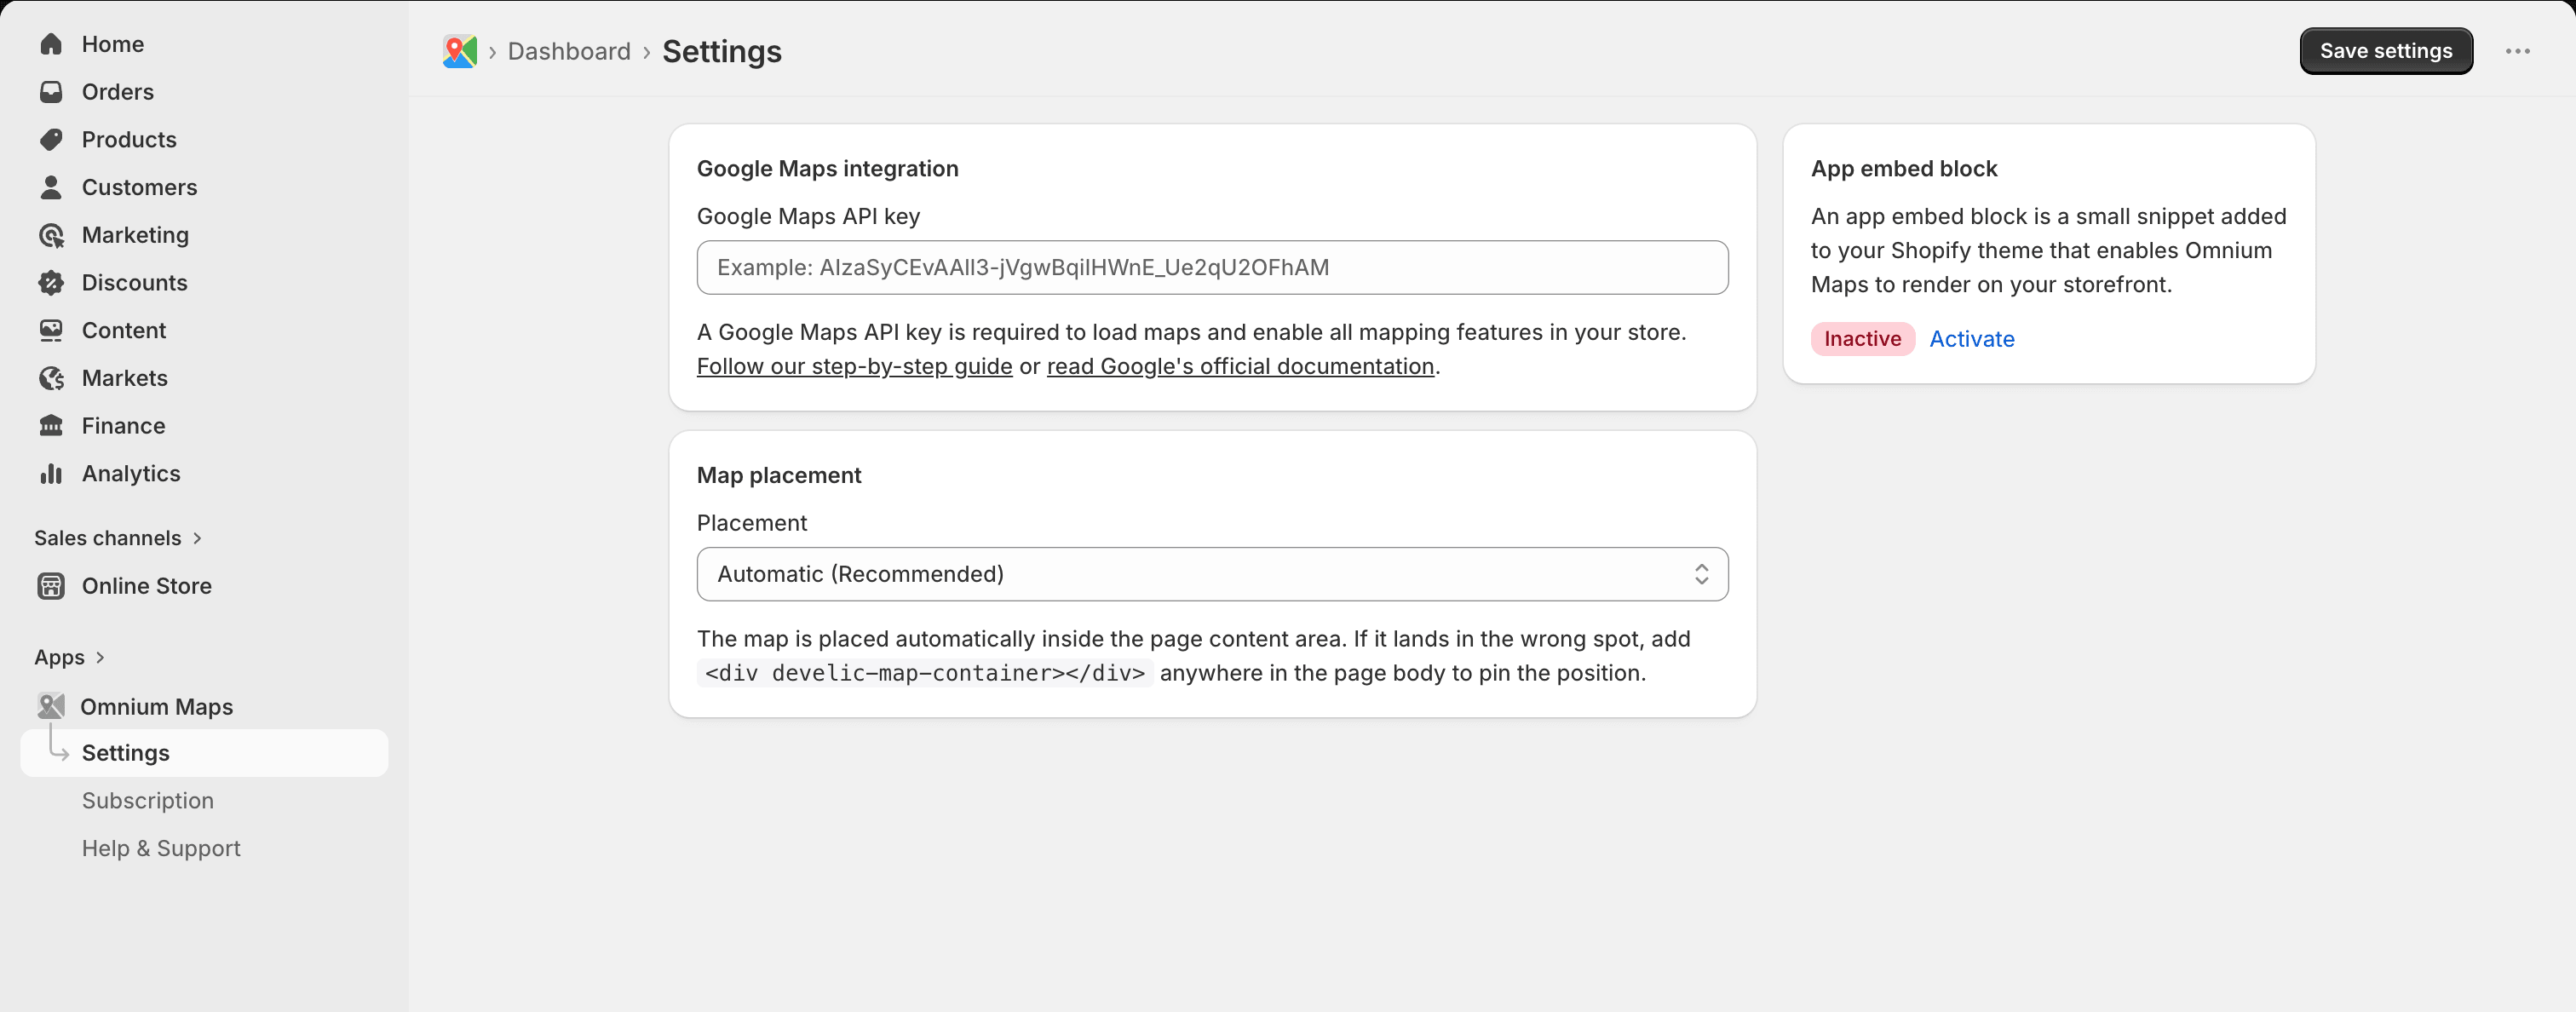
Google Maps API key
Omnium Maps uses the Google Maps rendering engine. You need to provide your own API key for maps to load.
Google Maps API key requirements
Your Google Maps API key must meet these two requirements:
-
Under "APIs & Services" → "Enabled APIs & Services" in Google Cloud Console, enable the following:
- Maps JavaScript API
- Geocoding API
- Places API (New) and Places API
- Add a credit card under "Billing". Google provides a generous free tier that covers most small and medium-sized stores. Learn more about Google Maps pricing.
For a full walkthrough, see our guide: How to generate your own Google Maps API key.
Once you have your key, paste it into the Google Maps API key field on the Settings page and click "Save settings".
App embed block
For maps to render on your storefront, the Omnium Maps app embed block must be active in your current theme.
On the Settings page, click the "Activate" link next to the app embed status badge. This opens the Shopify Theme Editor with the Omnium Maps app block already enabled. Click "Save" in the theme editor to confirm.
After saving the theme, return to the Settings page and click the "Check" link to verify the activation was registered. The status badge will update to "Active".
If you switch to a different theme later, you will need to repeat this step for the new theme.
Step 4: Activate your subscription
At this point you have a working map, a configured API key, and the app embed active. The last step is to activate your Omnium Maps subscription to make your maps visible on the storefront.
Open the Subscription page from the app navigation, or click "Subscribe" in Step 4 of the onboarding guide.
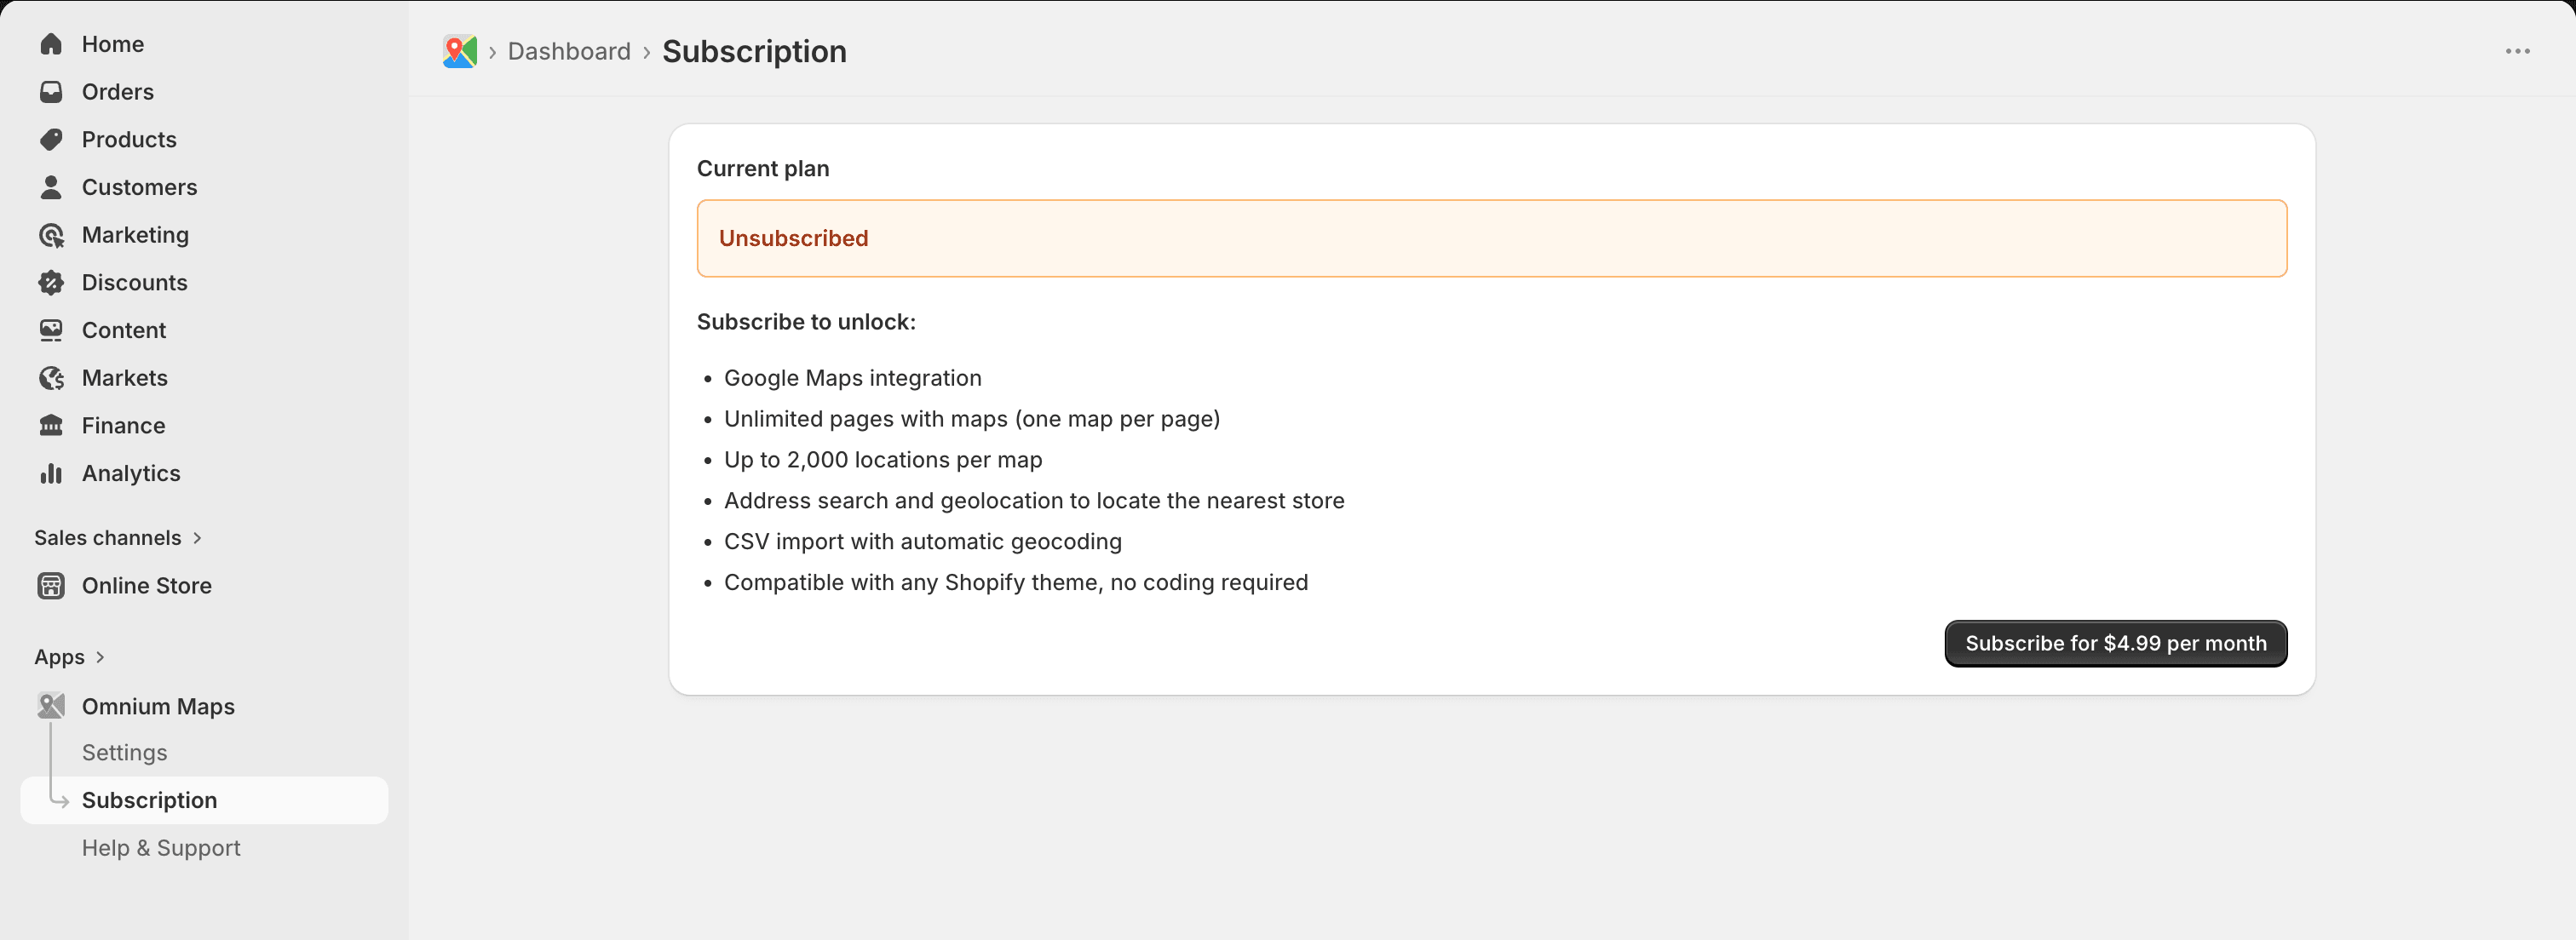
Click "Subscribe for $4.99 per month" and follow the standard Shopify billing flow, the same process used by other Shopify apps. Your subscription includes a 7-day free trial; you won't be charged if you uninstall during the trial period.
All payments are processed through Shopify. Omnium Maps never handles your payment information directly.
Verify your map on the storefront
Once all four steps are complete, the setup guide disappears automatically. Your dashboard will now look like this: map cards, stats, and subscription status all visible at a glance.
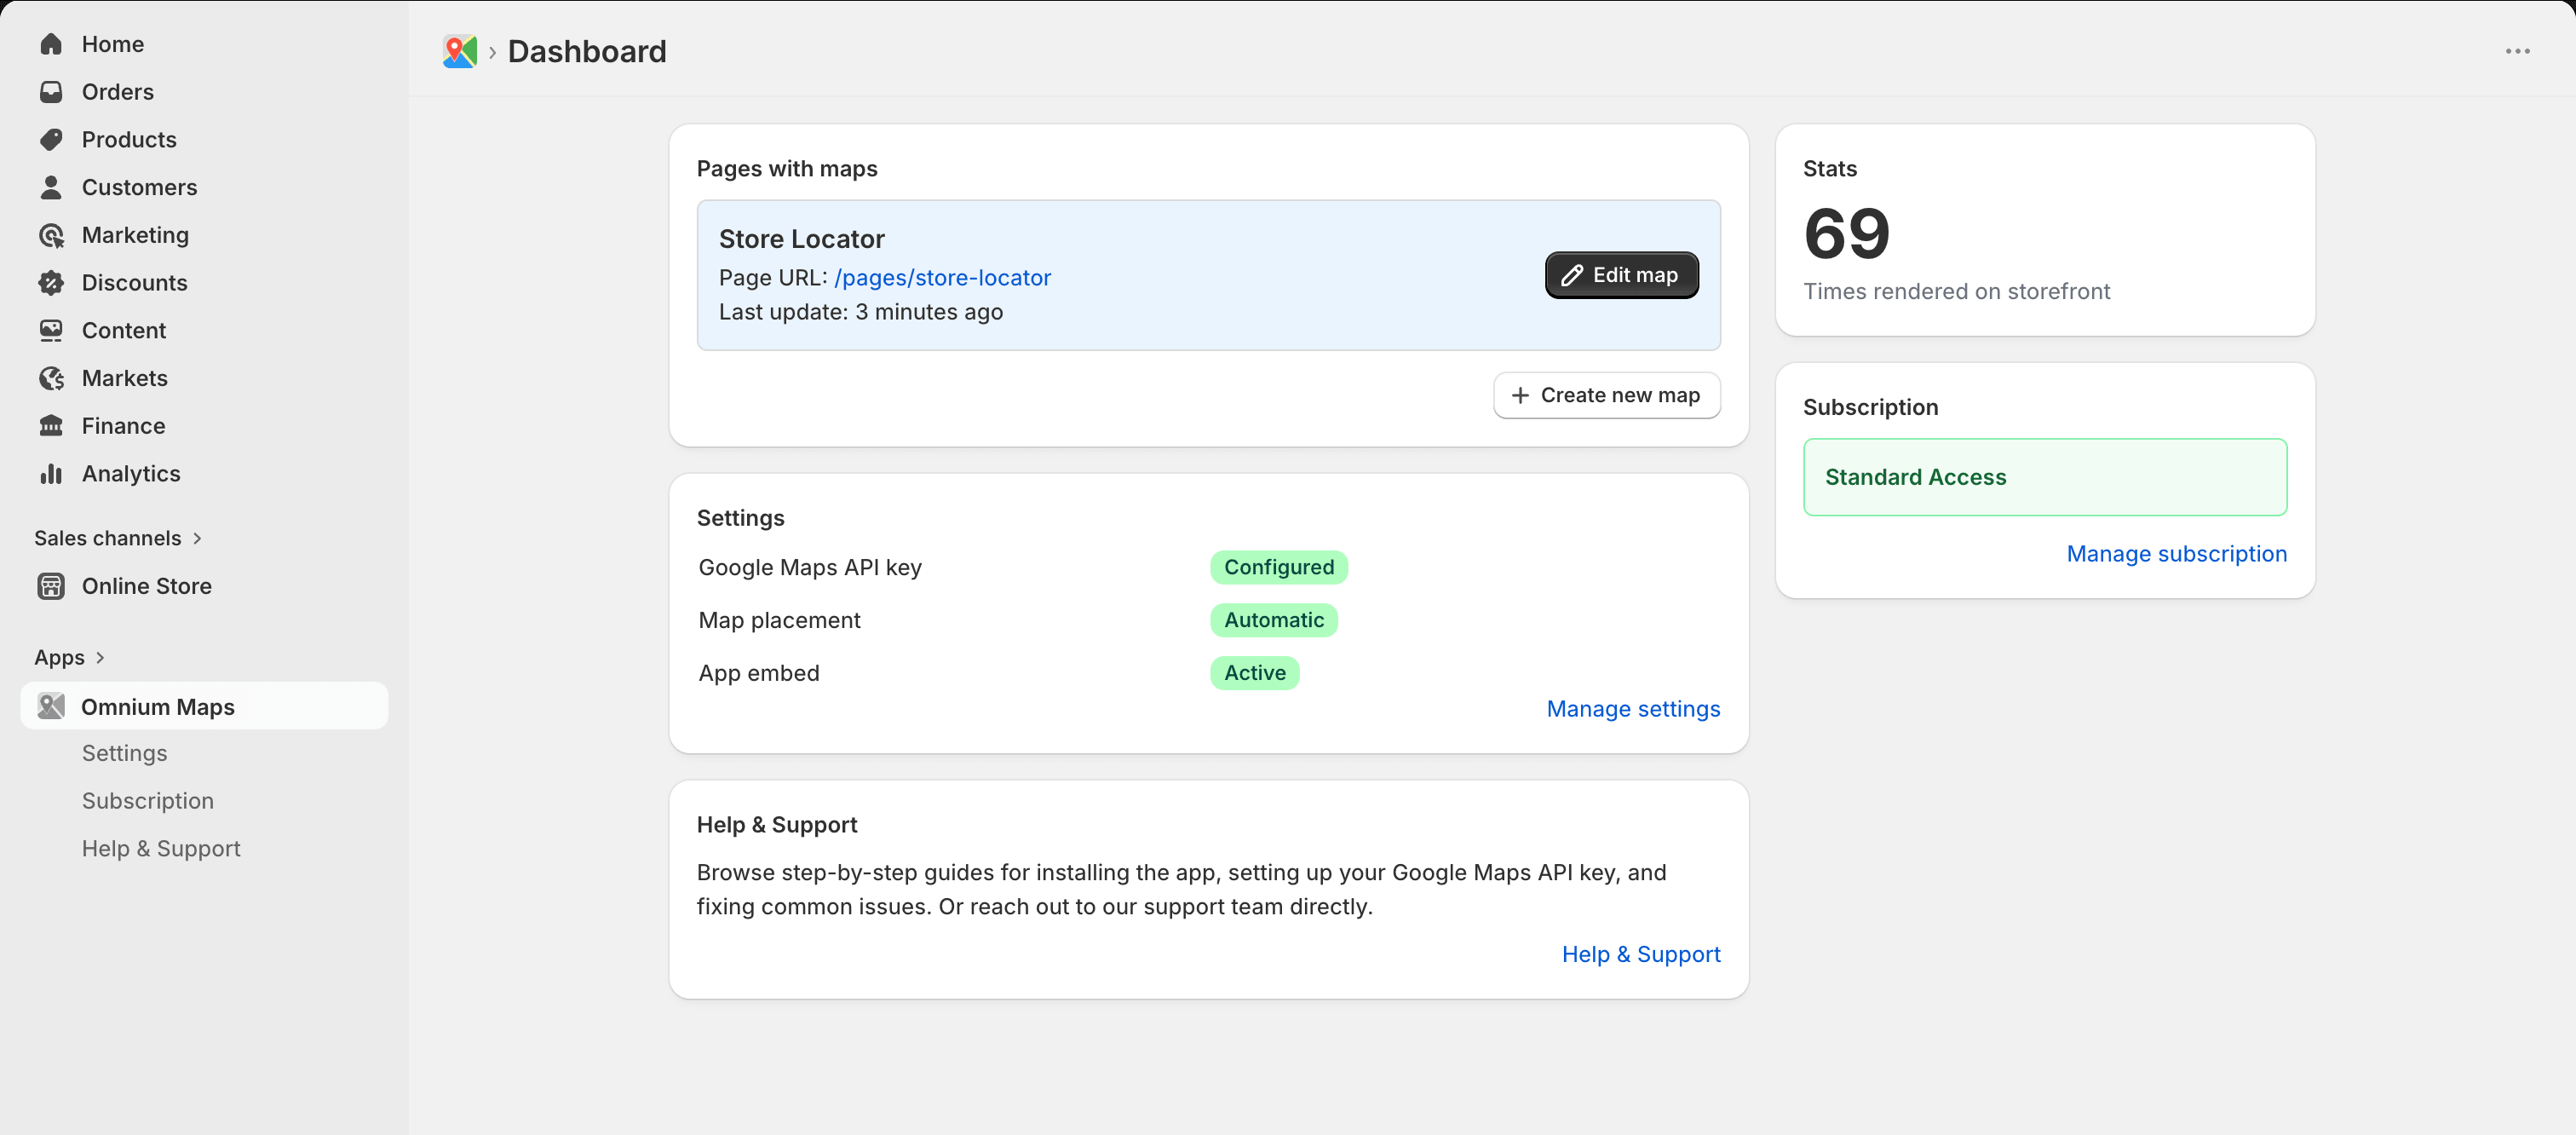
The dashboard also serves as a status indicator going forward. If something needs attention (a lapsed subscription, a missing API key, or an app embed that went inactive after a theme switch), it will be visible here right away.
To verify the map, click the page URL link in the map card. This opens the live storefront page where your map should be rendering.
It can take 1-2 minutes for changes (locations, settings, or placement adjustments) to propagate to your live storefront. Wait a moment before concluding something is wrong.
If the map is not appearing or broken, these articles cover the most common causes:
- How to fix maps not appearing on the storefront
- How to fix the "This page can't load Google Maps correctly" error
- How to fix incorrect map placement
You can also find these articles from the Help & Support page inside the app.
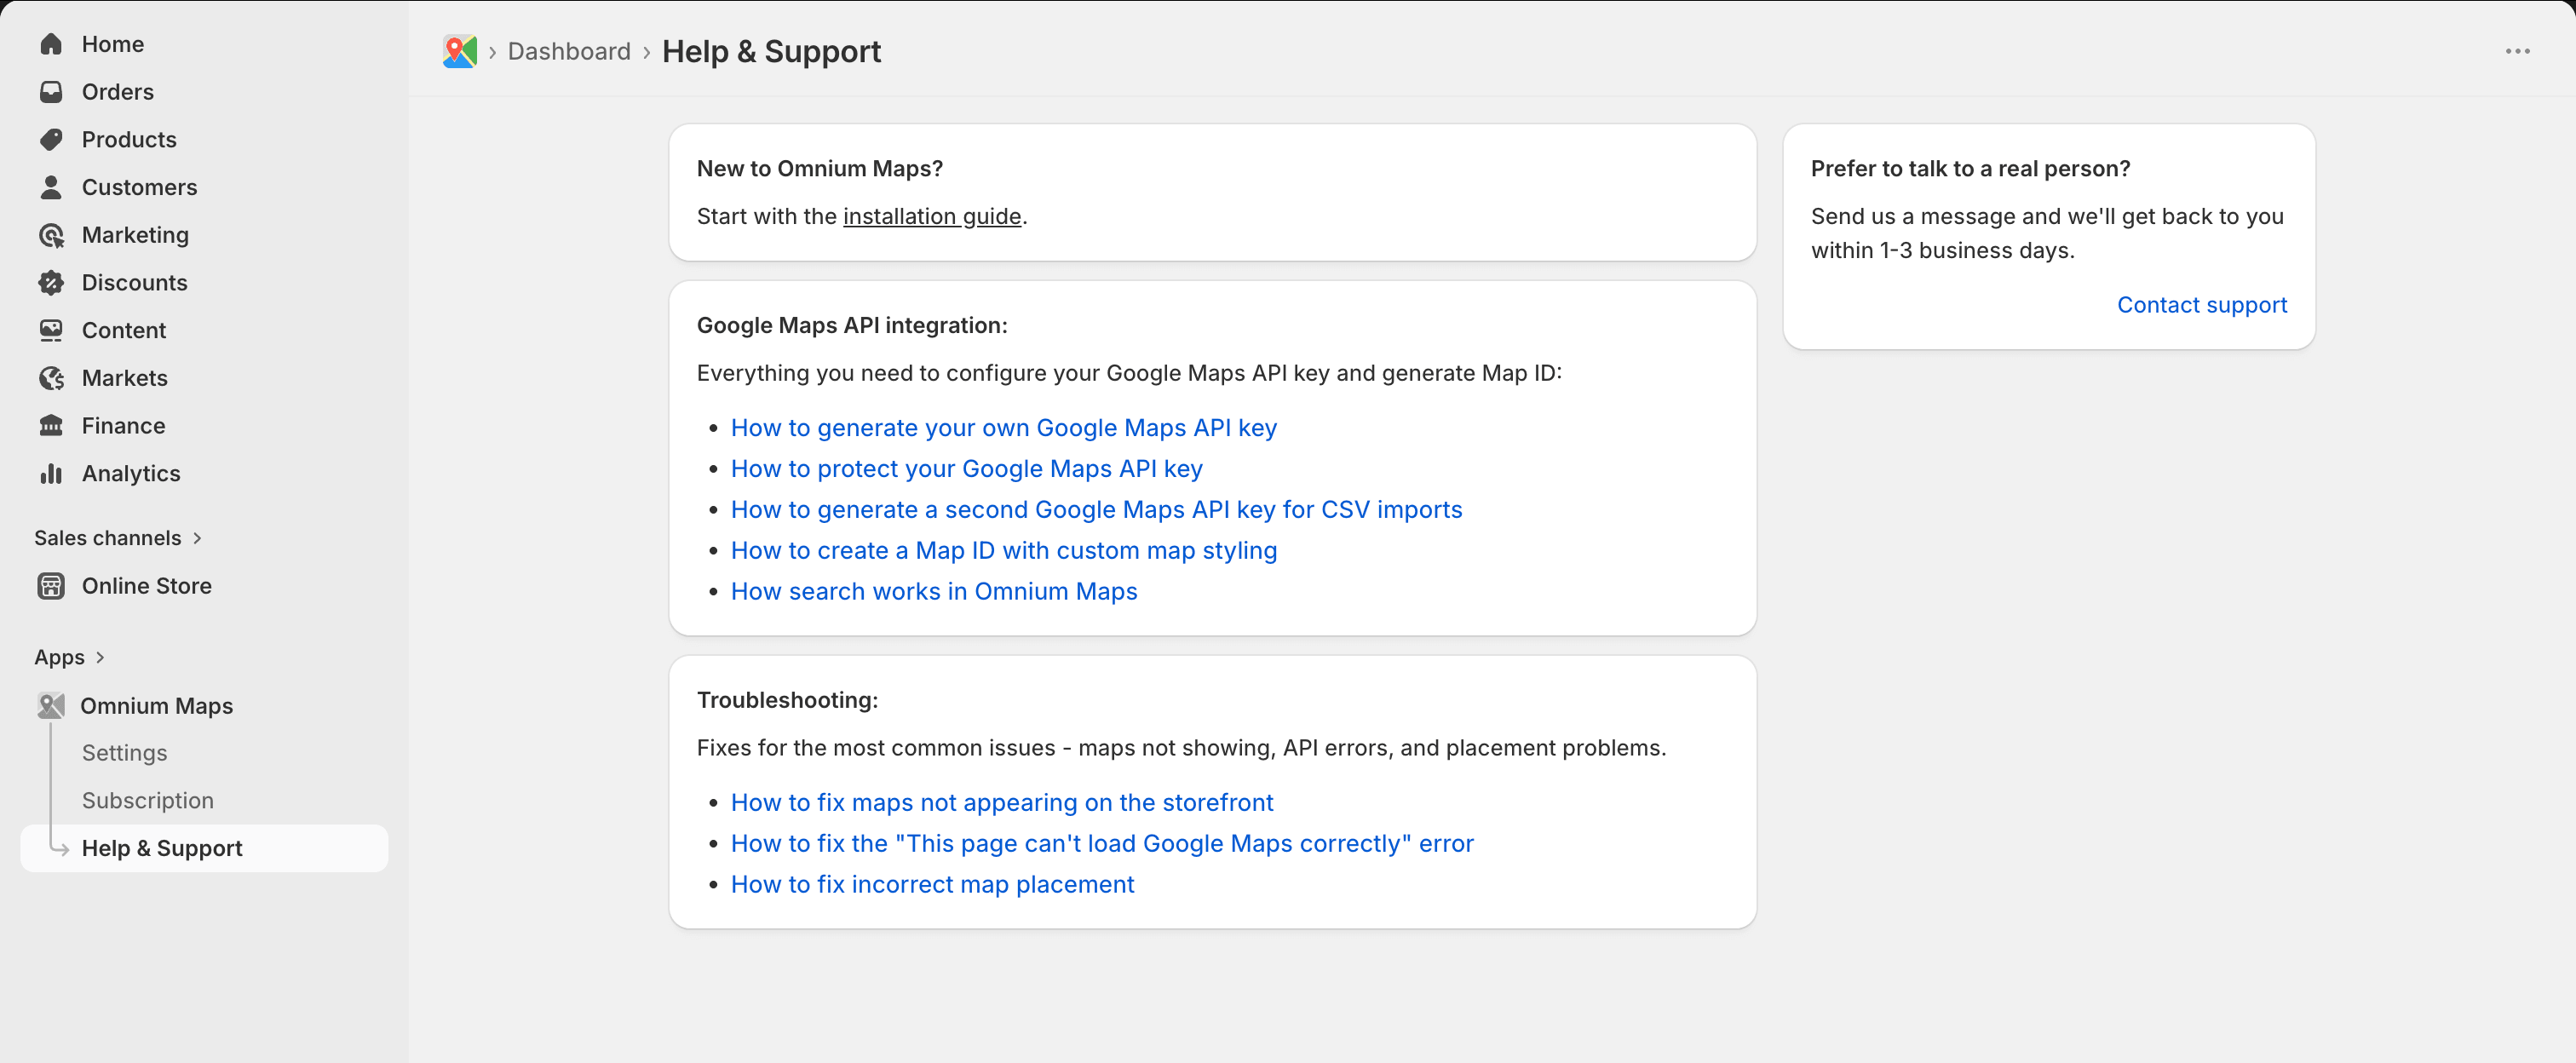
If none of the articles resolve your issue, contact our support team and we'll help you get sorted.